Managing the Gateway CGate status
About CGates
Gateway manages connection identification at the protocol connection level. In Gateway, connection information is stored in CGates (Communication Gates).
To select a CGate, Gateway first identifies a CGateGroup whose protocol called TCP/IP SAP, or optionally TCP/IP address, matches that of the incoming connection. Within that CGateGroup, Gateway then selects a CGate whose protocol identifiers match the connection.
When you install Gateway, by default it has a set of CGateGroups for each of the common protocols that Gateway handles. Each CGateGroup contains a default CGate. For exchanges between PassPort partner management and Gateway, you do not generally need to create new CGate Groups or CGates, you can let Gateway use the existing ones. However, you may need to enable or disable a CGate depending on the type of exchange you are configuring.
Choosing a CGate group status
PassPort: CGate disabled
To configure exchanges between Gateway and PassPort PM with the CGate disabled on the Gateway side:
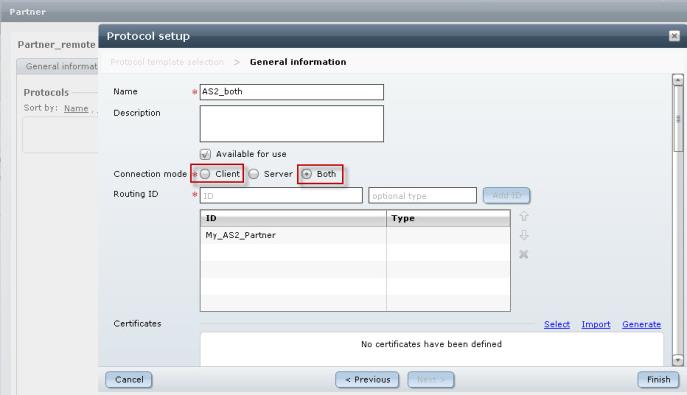
- In PassPort you create a Remote Partner to represent Gateway, and you attach a protocol in which you set the exchange mode to either Client or Both depending on the protocol.
-
- In Gateway you must set the CGate status for that protocol to Disabled.
-

PassPort: Gateway acts as Server (CGate enabled)
To configure exchanges between Gateway and PassPort PM in which the Gateway CGate is enabled:
- In PassPort you create a Remote Partner to represent Gateway, and you attach a protocol in which you set the exchange mode to either Server or Both depending on the protocol.
- In Gateway you must set the CGate status for that protocol to ENABLED. 0
Setting the CGate status
- In the left pane of the GUI Main window, expand the Partner Management > CGate nodes.
- Click the CGateGroup that contains the CGate you want to manage. For example, to manage the AS2 CGate, under Partner Management > CGate, you click GAS2.
- In the left pane, Gateway Navigator displays the default CGate for the communication protocol, as well as any additional CGates you may have added.
- In the left pane, left-click the default CGate, (for example AS2) and from the context menu, select Modify.
- Gateway Navigator displays an editing window for the CGate.
- In the State field, use the drop-down arrow to set the state to either Disabled or Enabled for the CGate.
- Click OK.