KB Article #191960
Amplify Fusion Single Sign On using Microsoft Entra ID
Amplify Fusion Single Sign On using Microsoft Entra ID
This guide will describe how to configure Amplify Fusion to enable log on via Single Sign-On (SSO) using Microsoft Entra ID. The guide was created using Amplify Fusion 1.11.2
The basic steps are:
- Configure a new SAML 2.0 application
- Configure Single Sign On in the Amplify Fusion Manager module by importing the SAML Metadata XML file
- Test the SSO Integration as Follows
Configure an Enterprise Application in Microsoft Entra
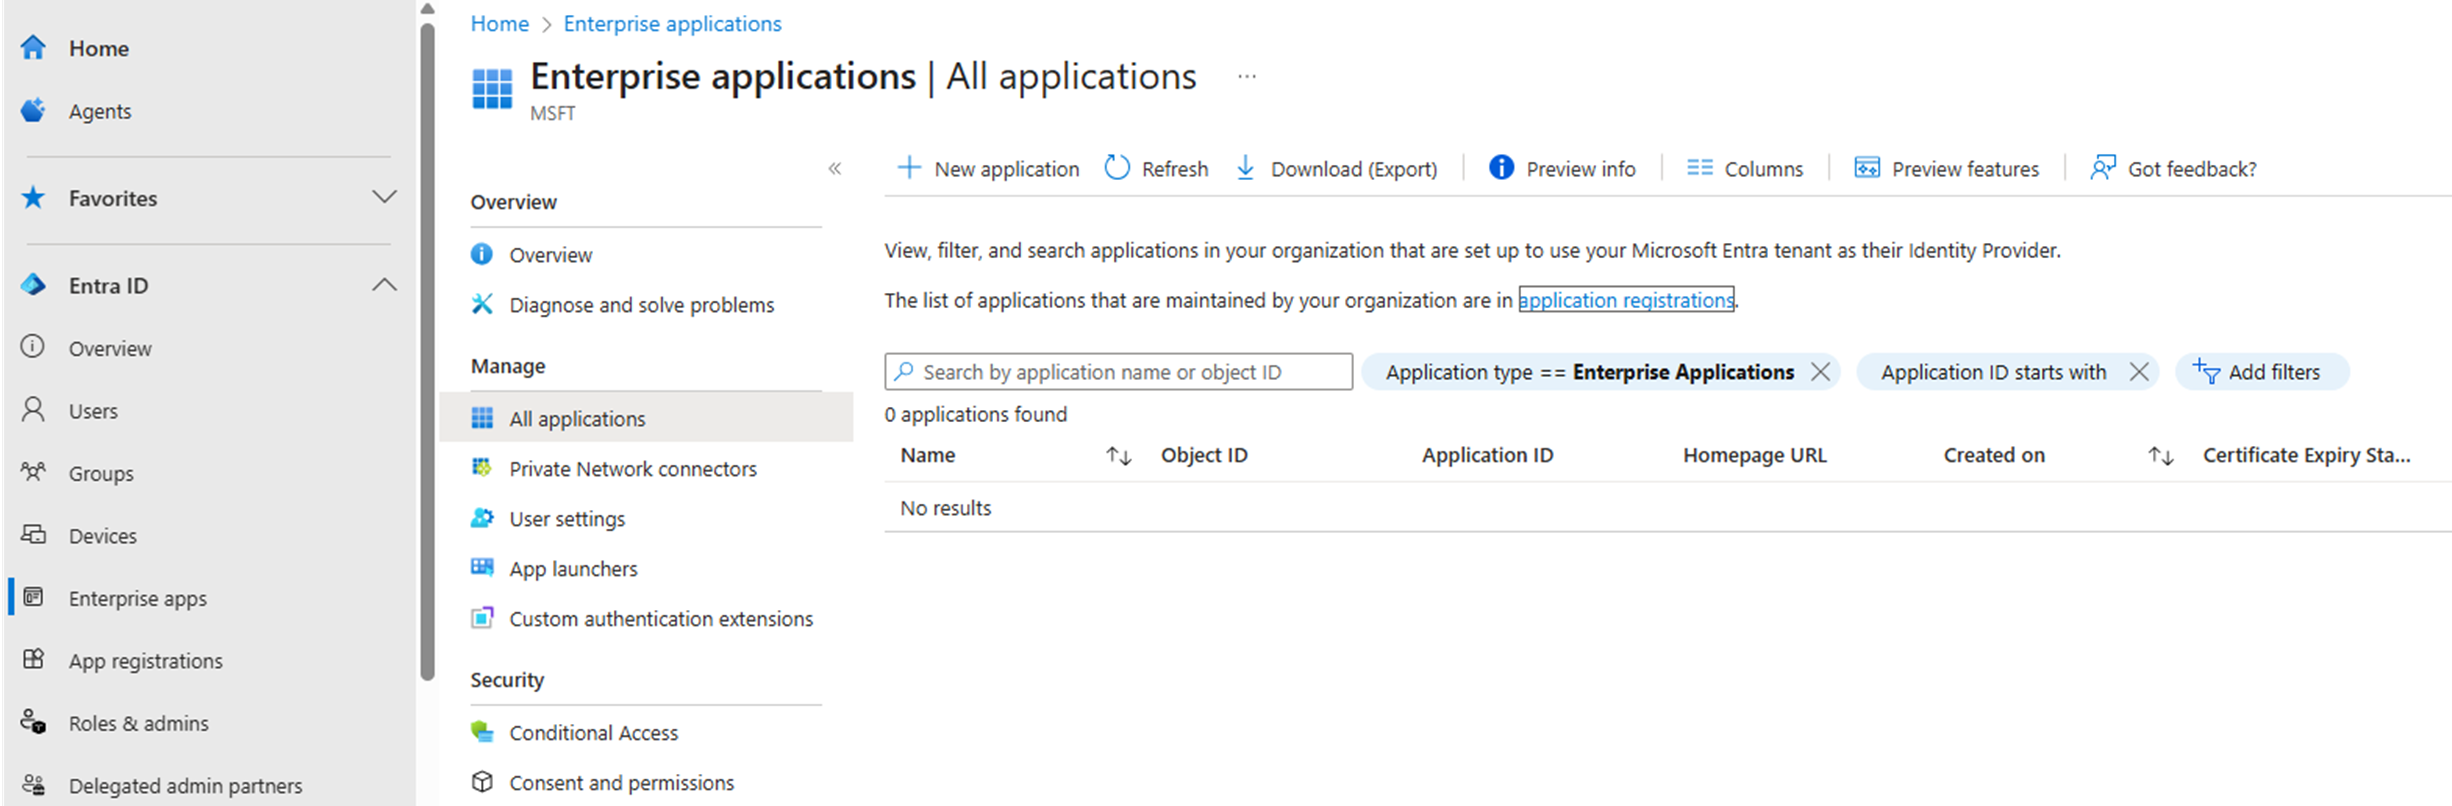
- Navigate to the Microsoft Entra admin center at entra.microsoft.com
- Select Enterprise apps and then click New application
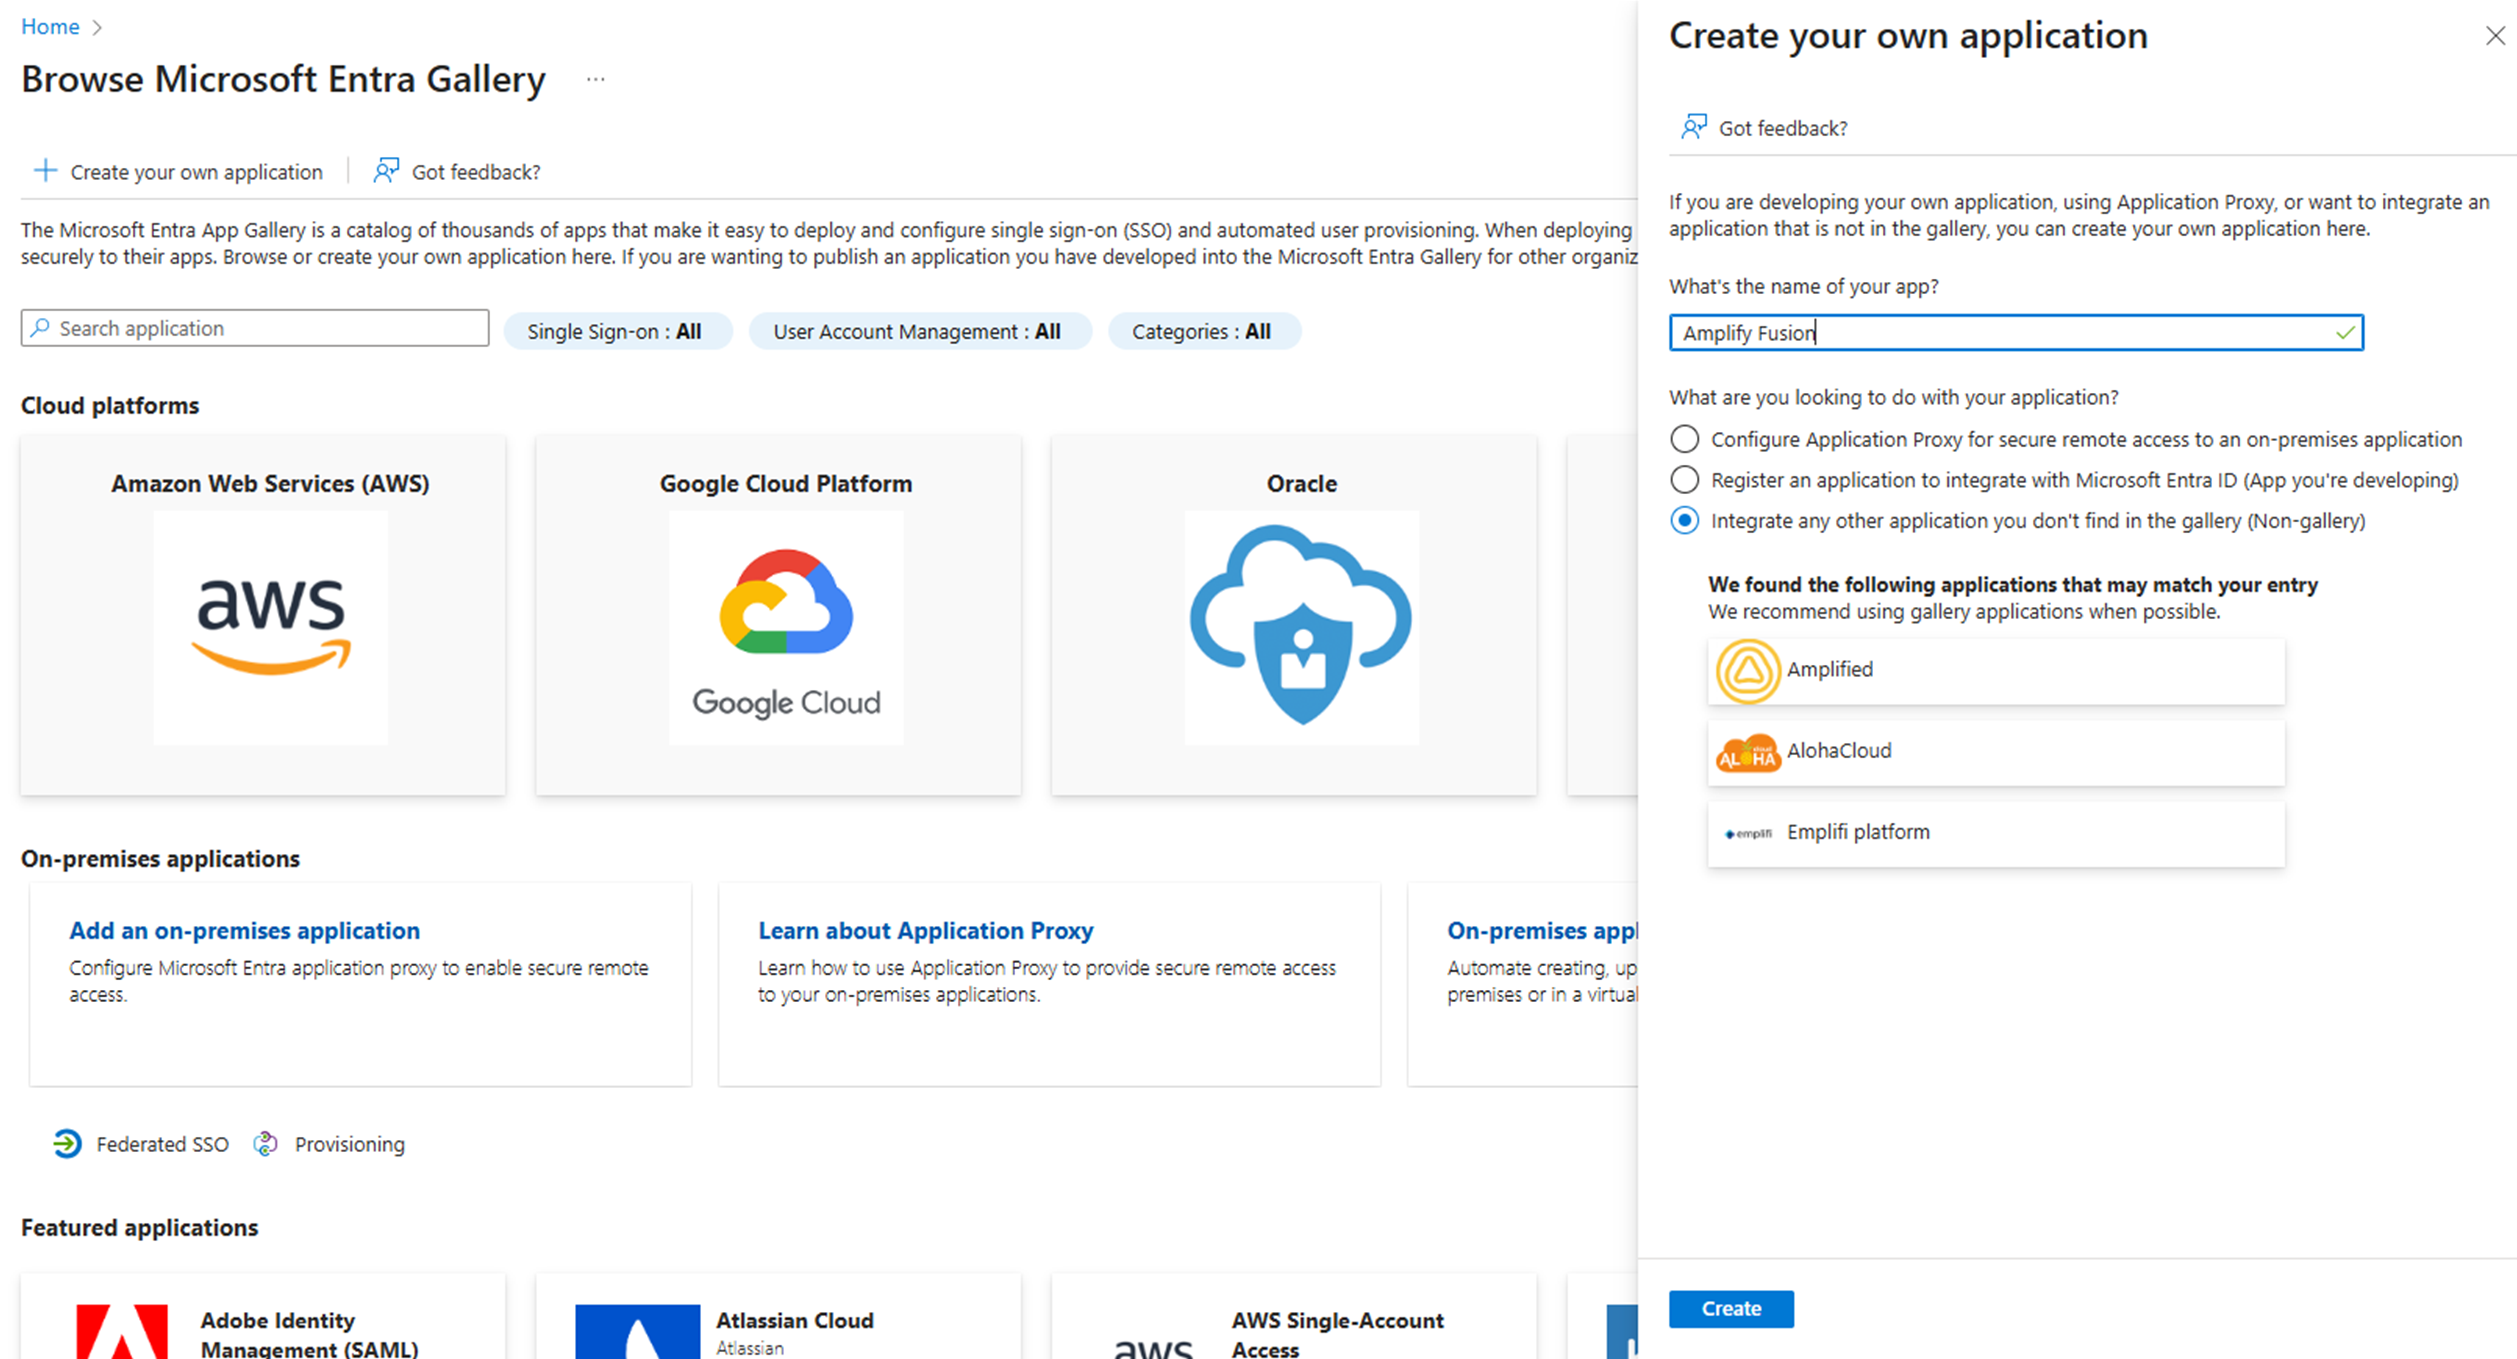
- Click Create your own, fill in the name, for example Amplify Fusion, choose Integrate any other application you don't find in the gallery (Non-gallery) and click Create
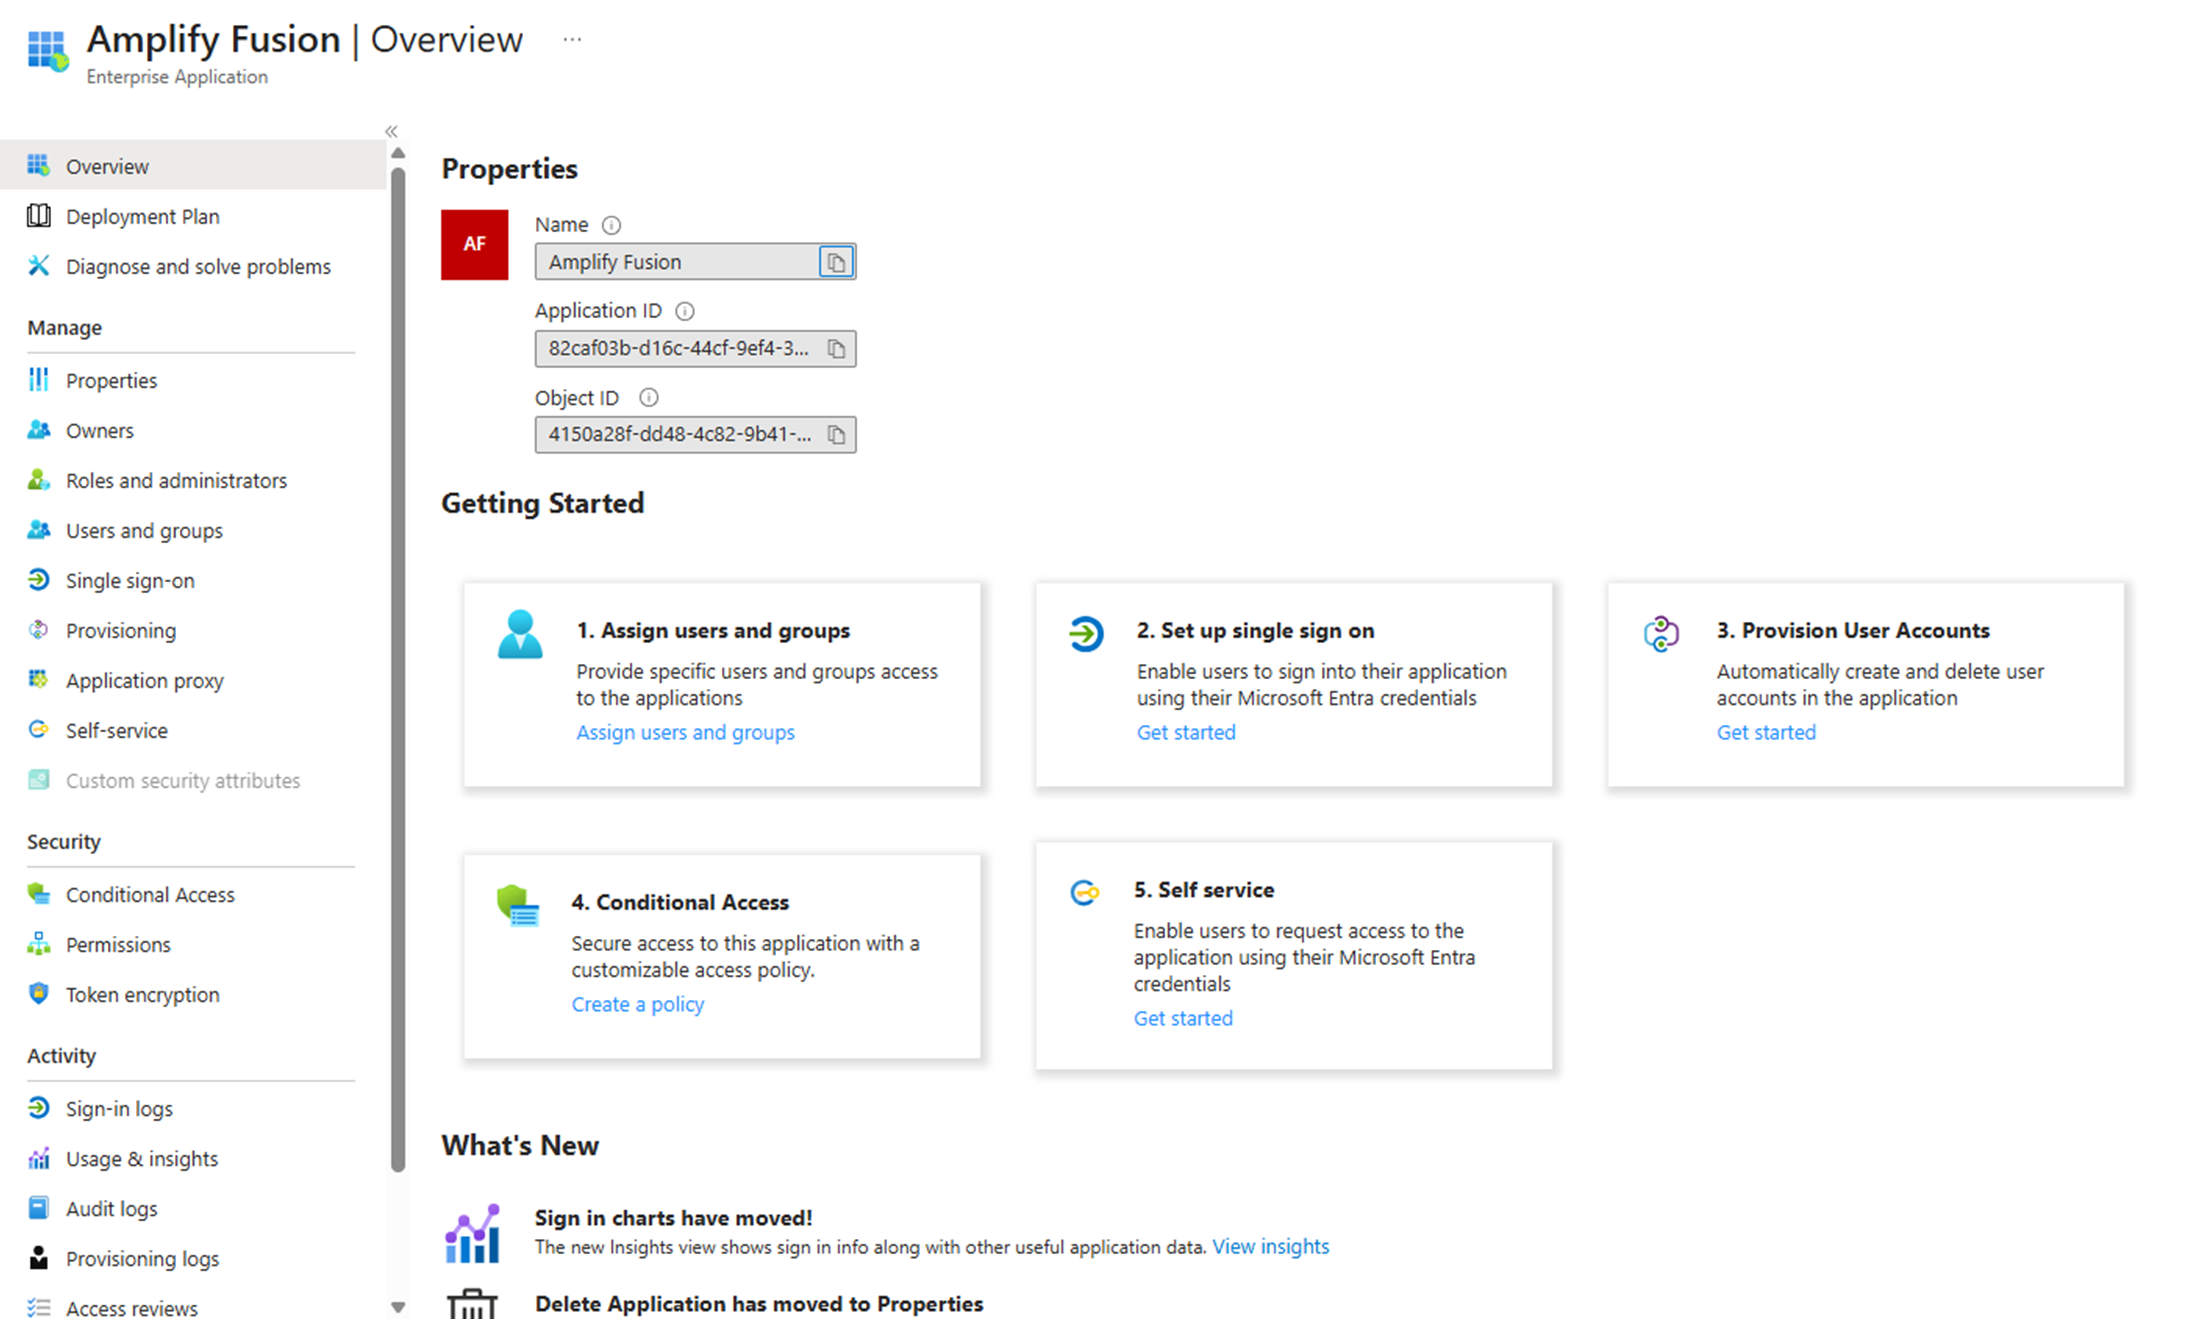
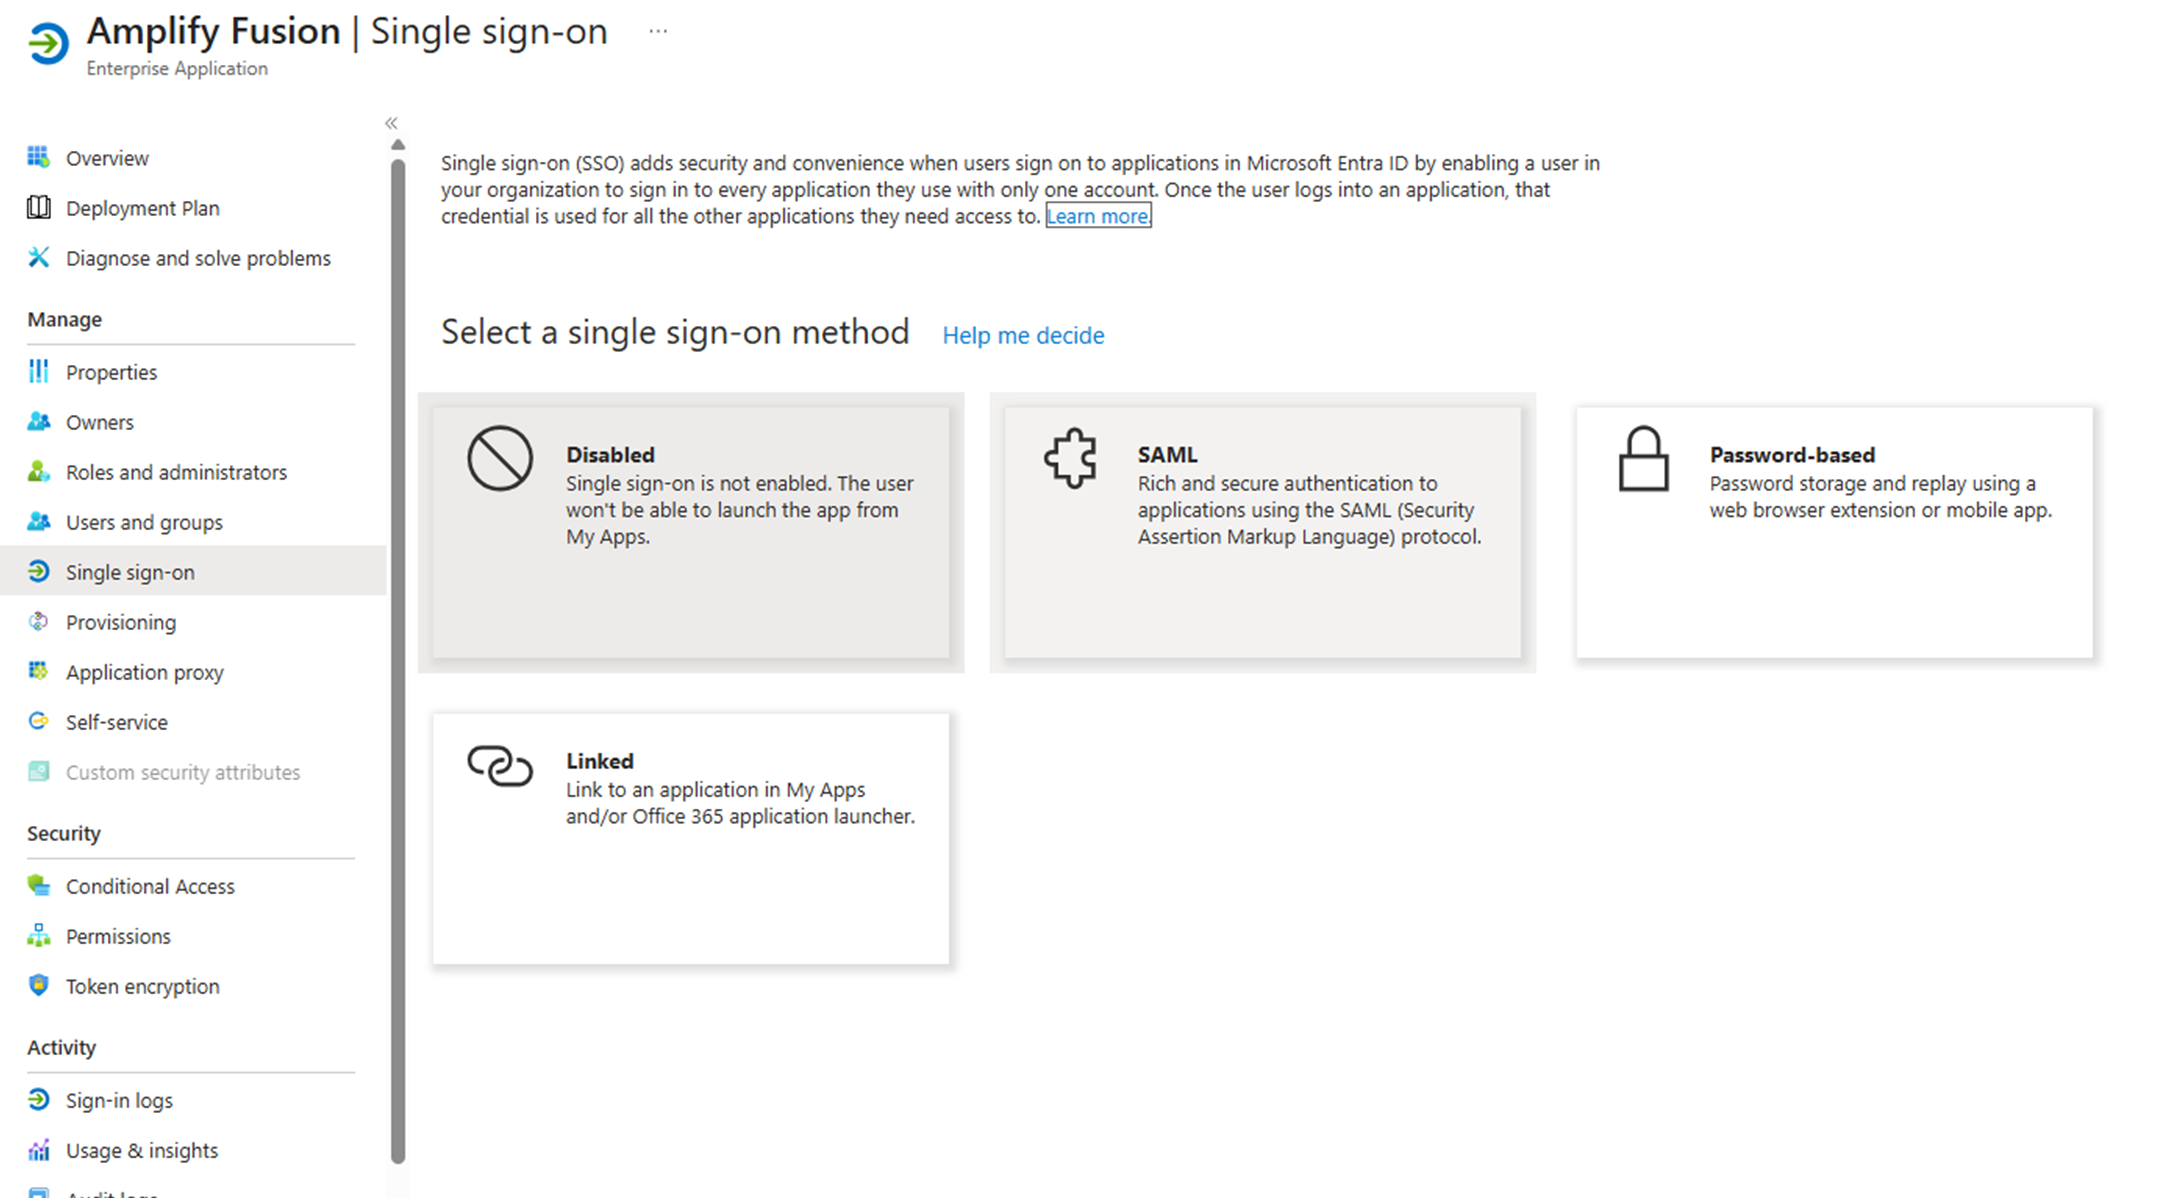
- Click on 2. Set up single sign on
- Choose SAML as the sign-on method
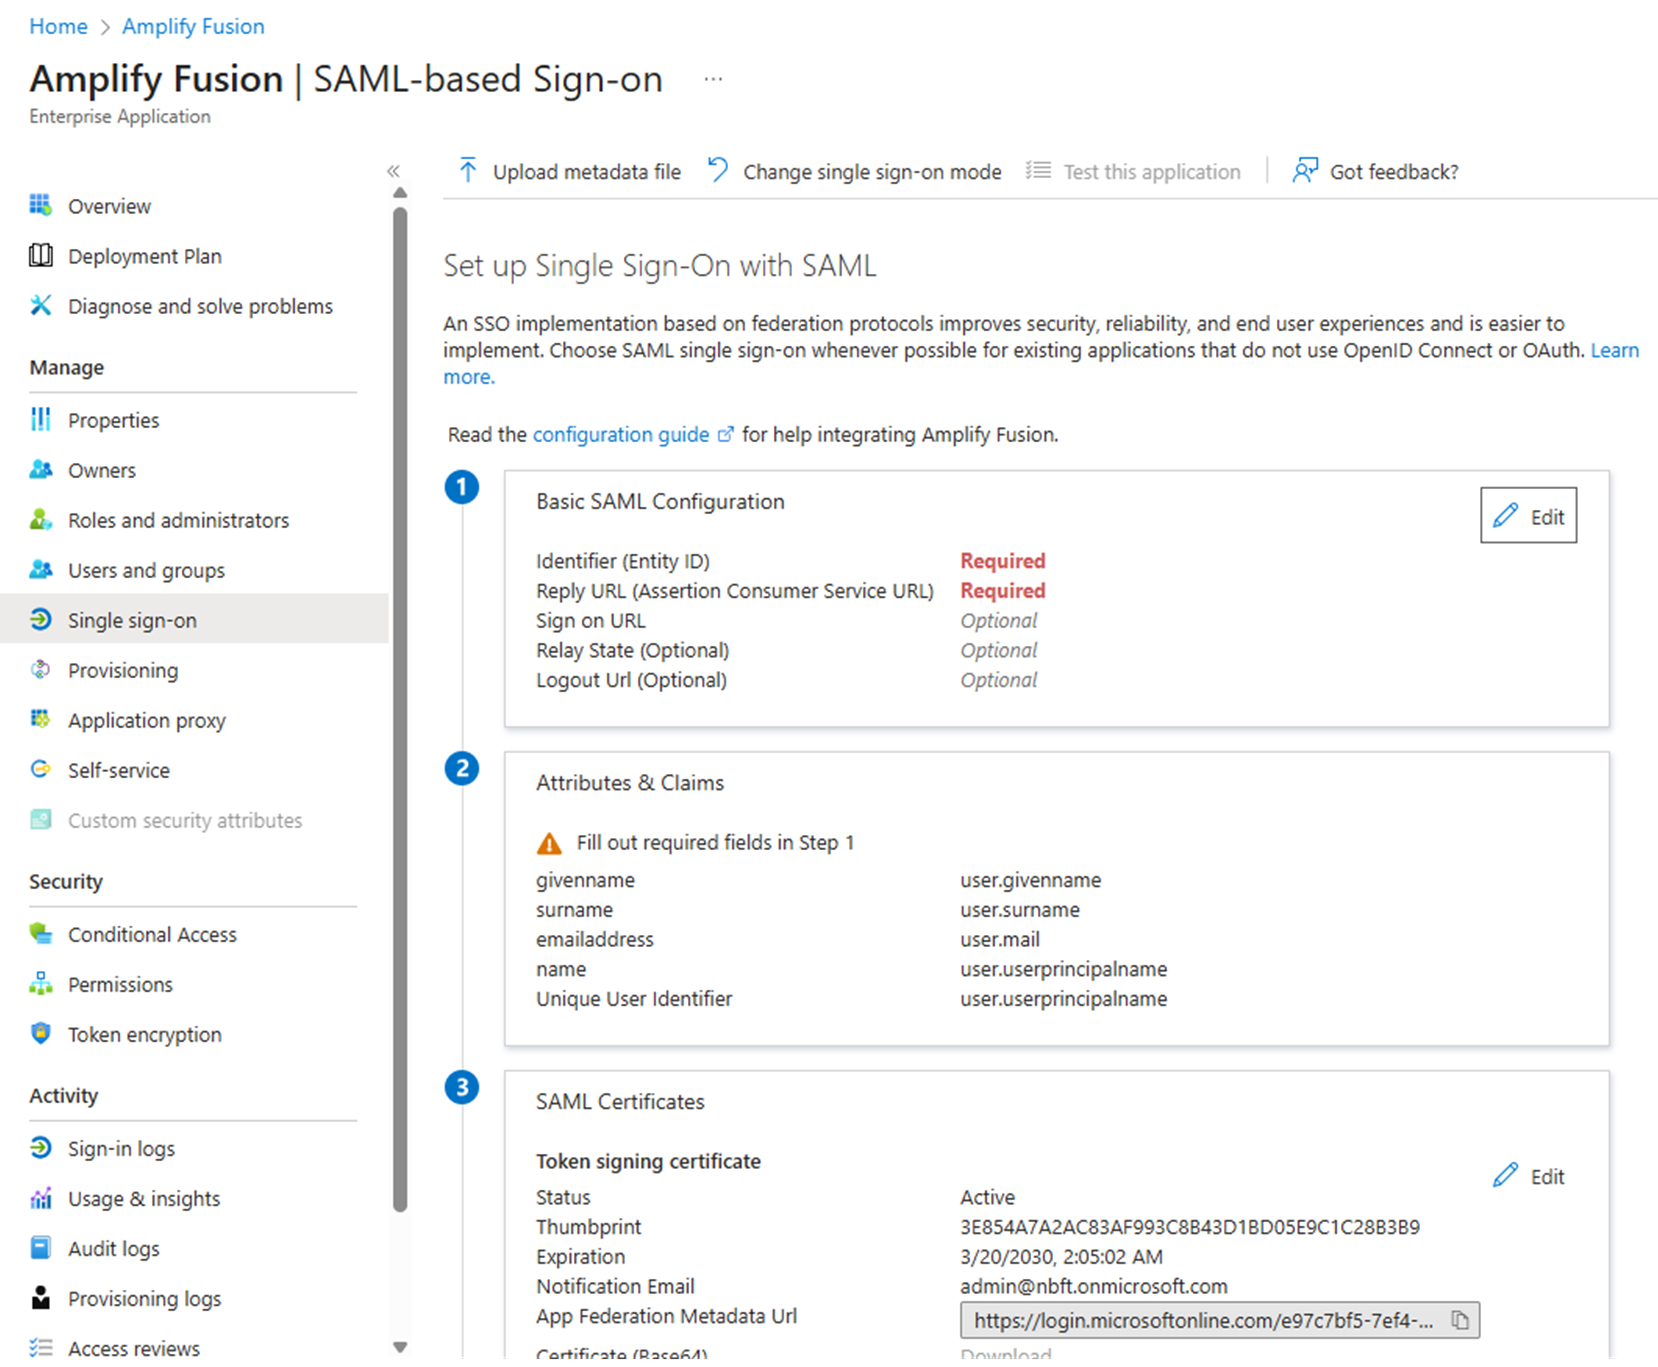
- Click on Edit in the Basic SAML Configuration section to fill in the required information
- Click Add identifier and fill in
https://tenant.domain/api/saml2/service-provider-metadata/default, then click Add reply URL and fill in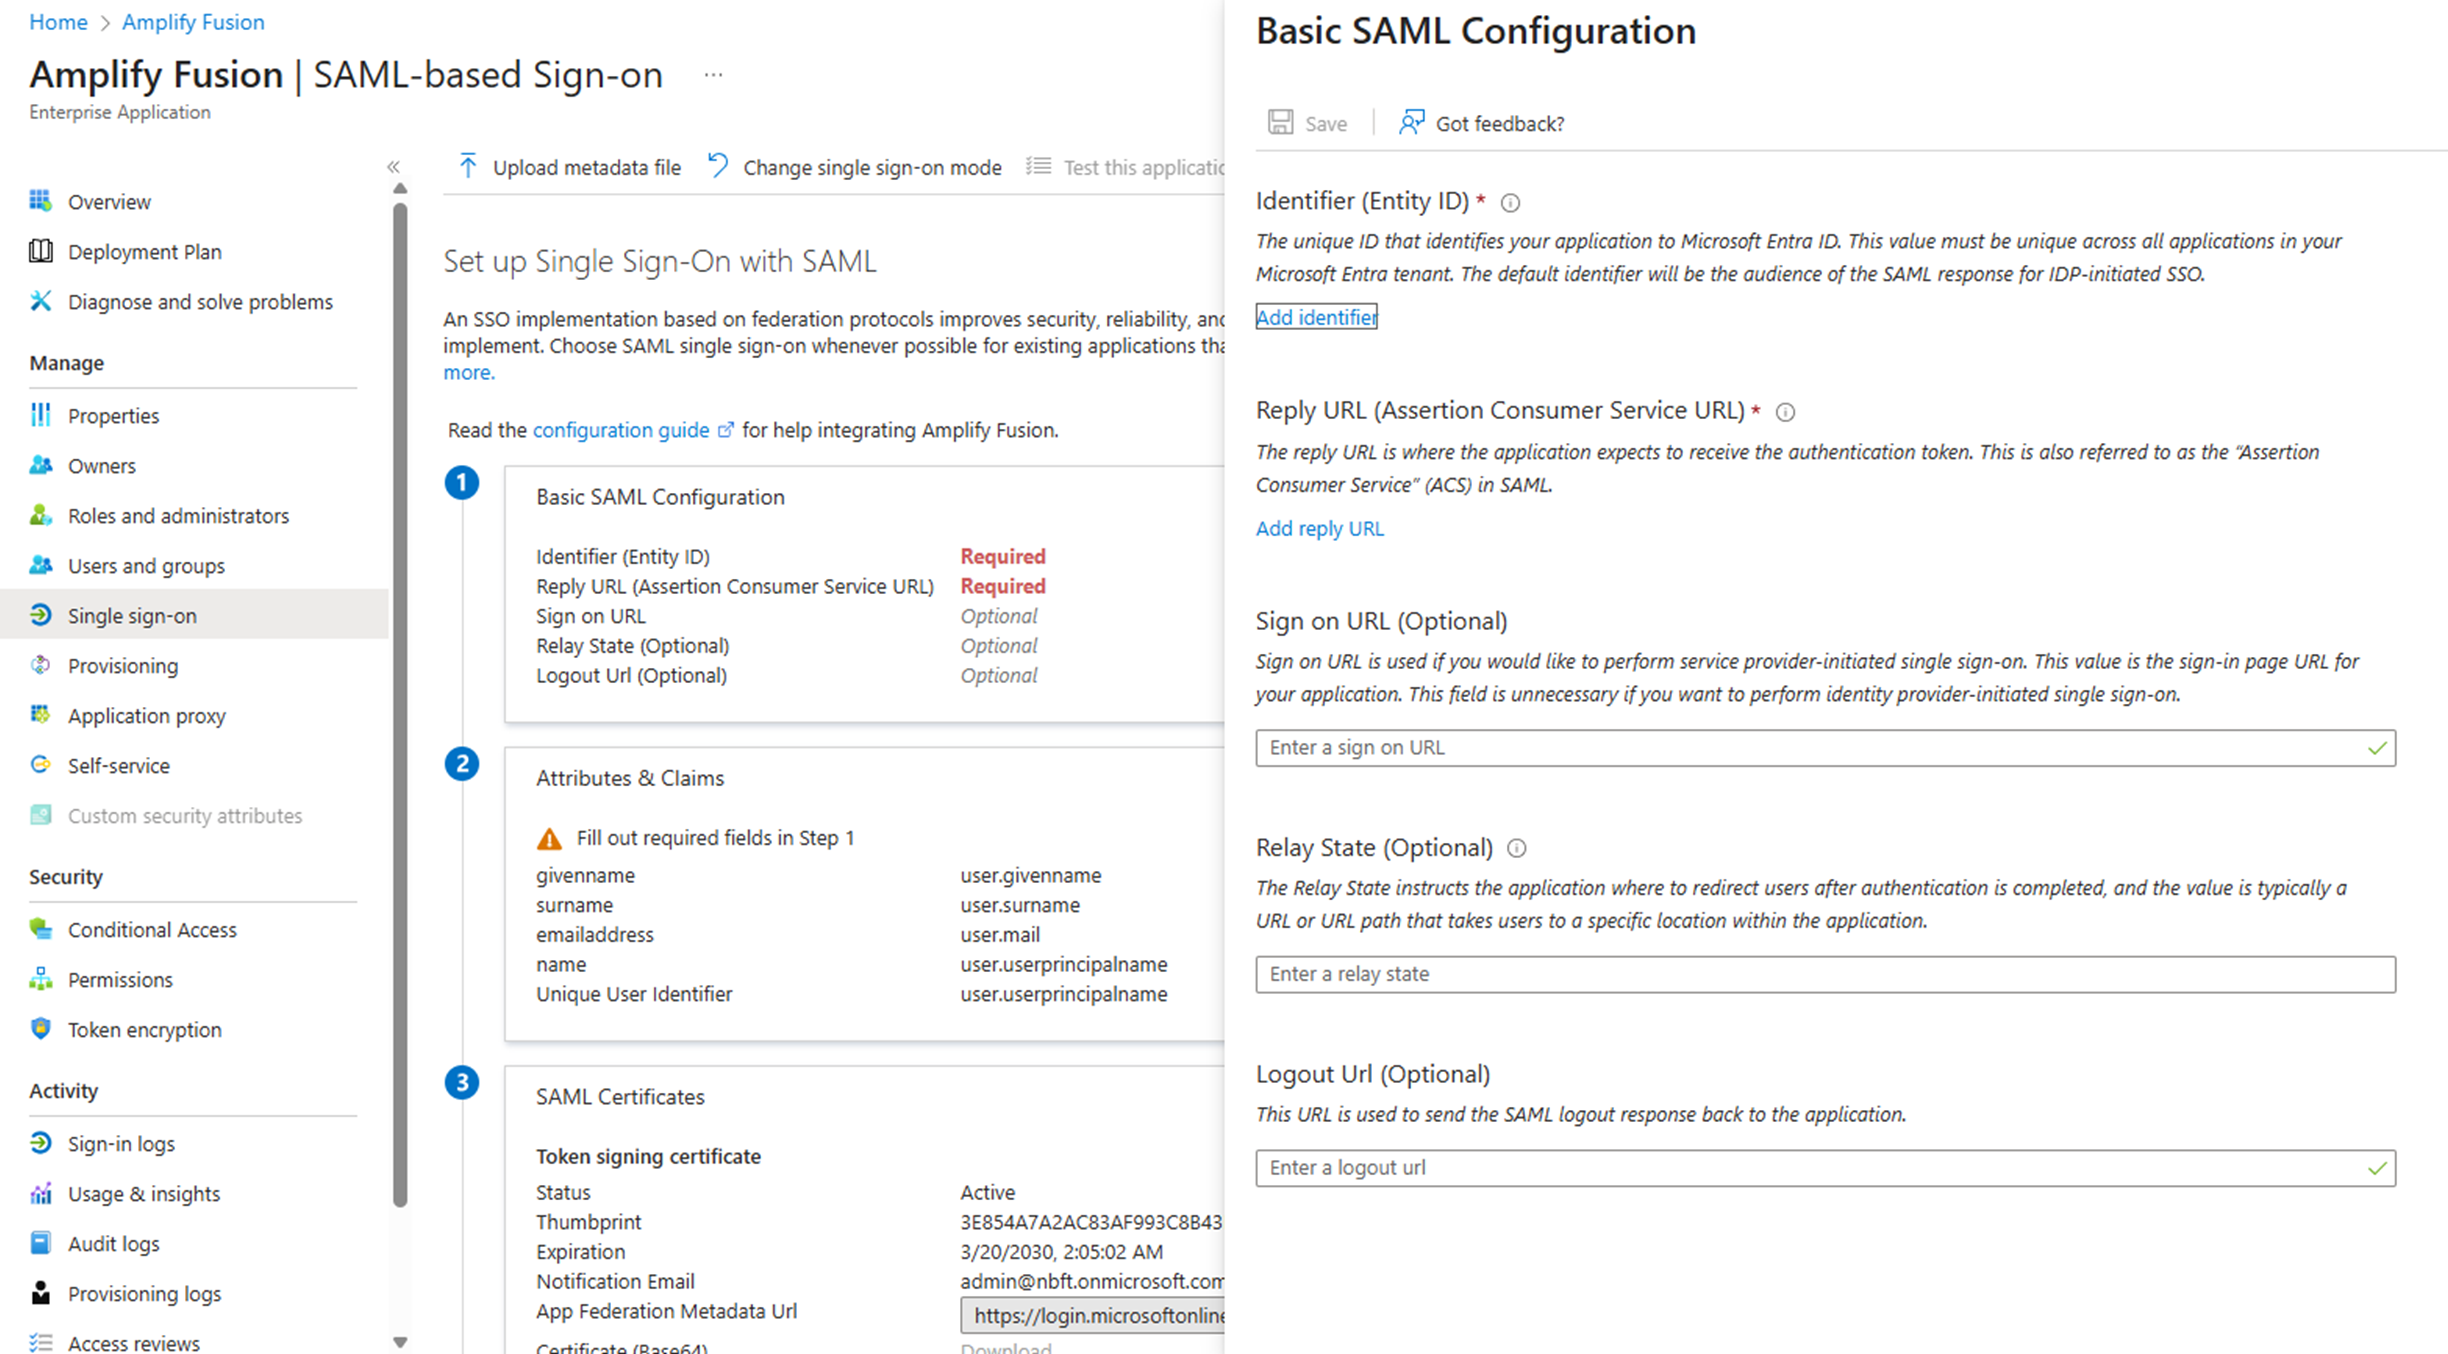
- After clicking save your configuration should look like below
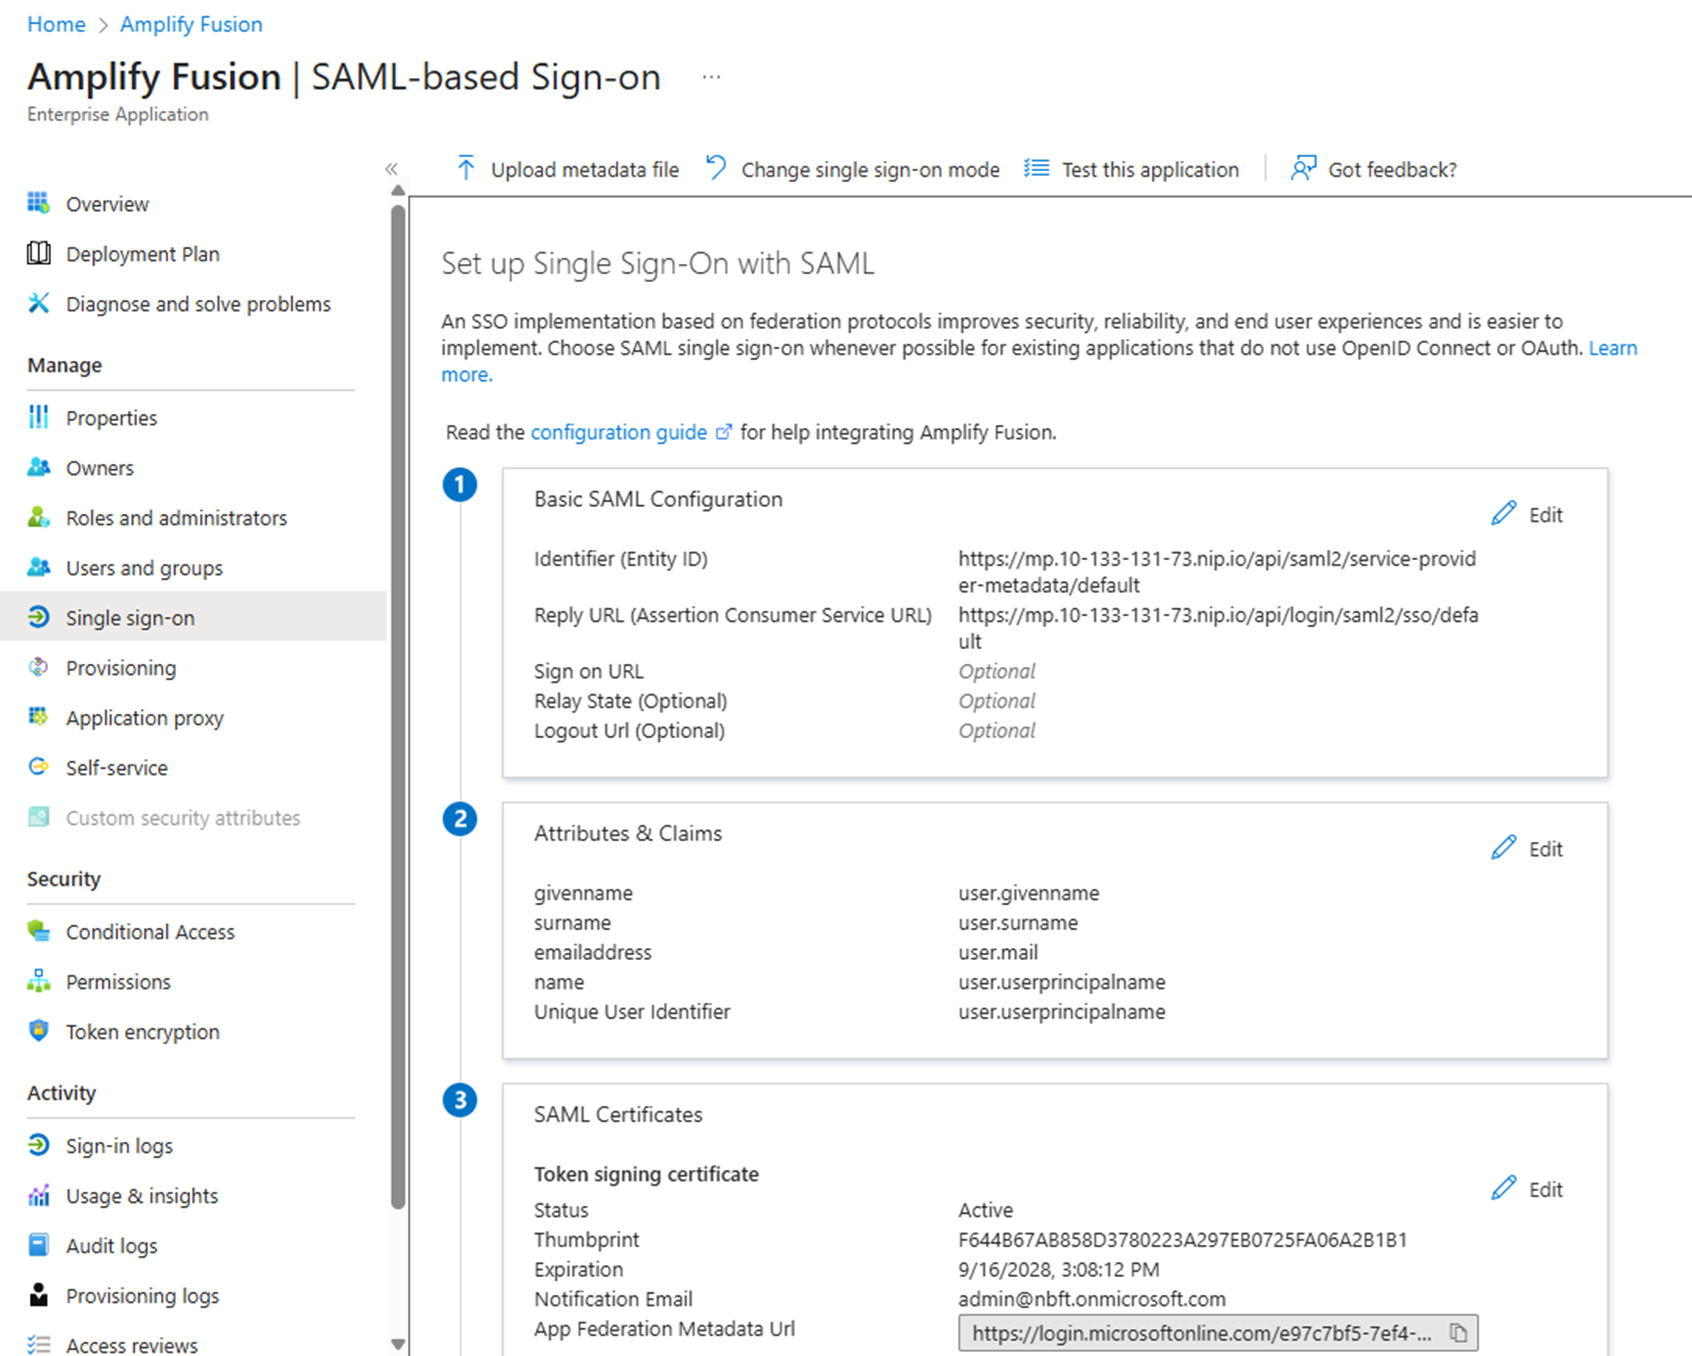
- Download the Federation Metadata XML, we’ll import it into Fusion later

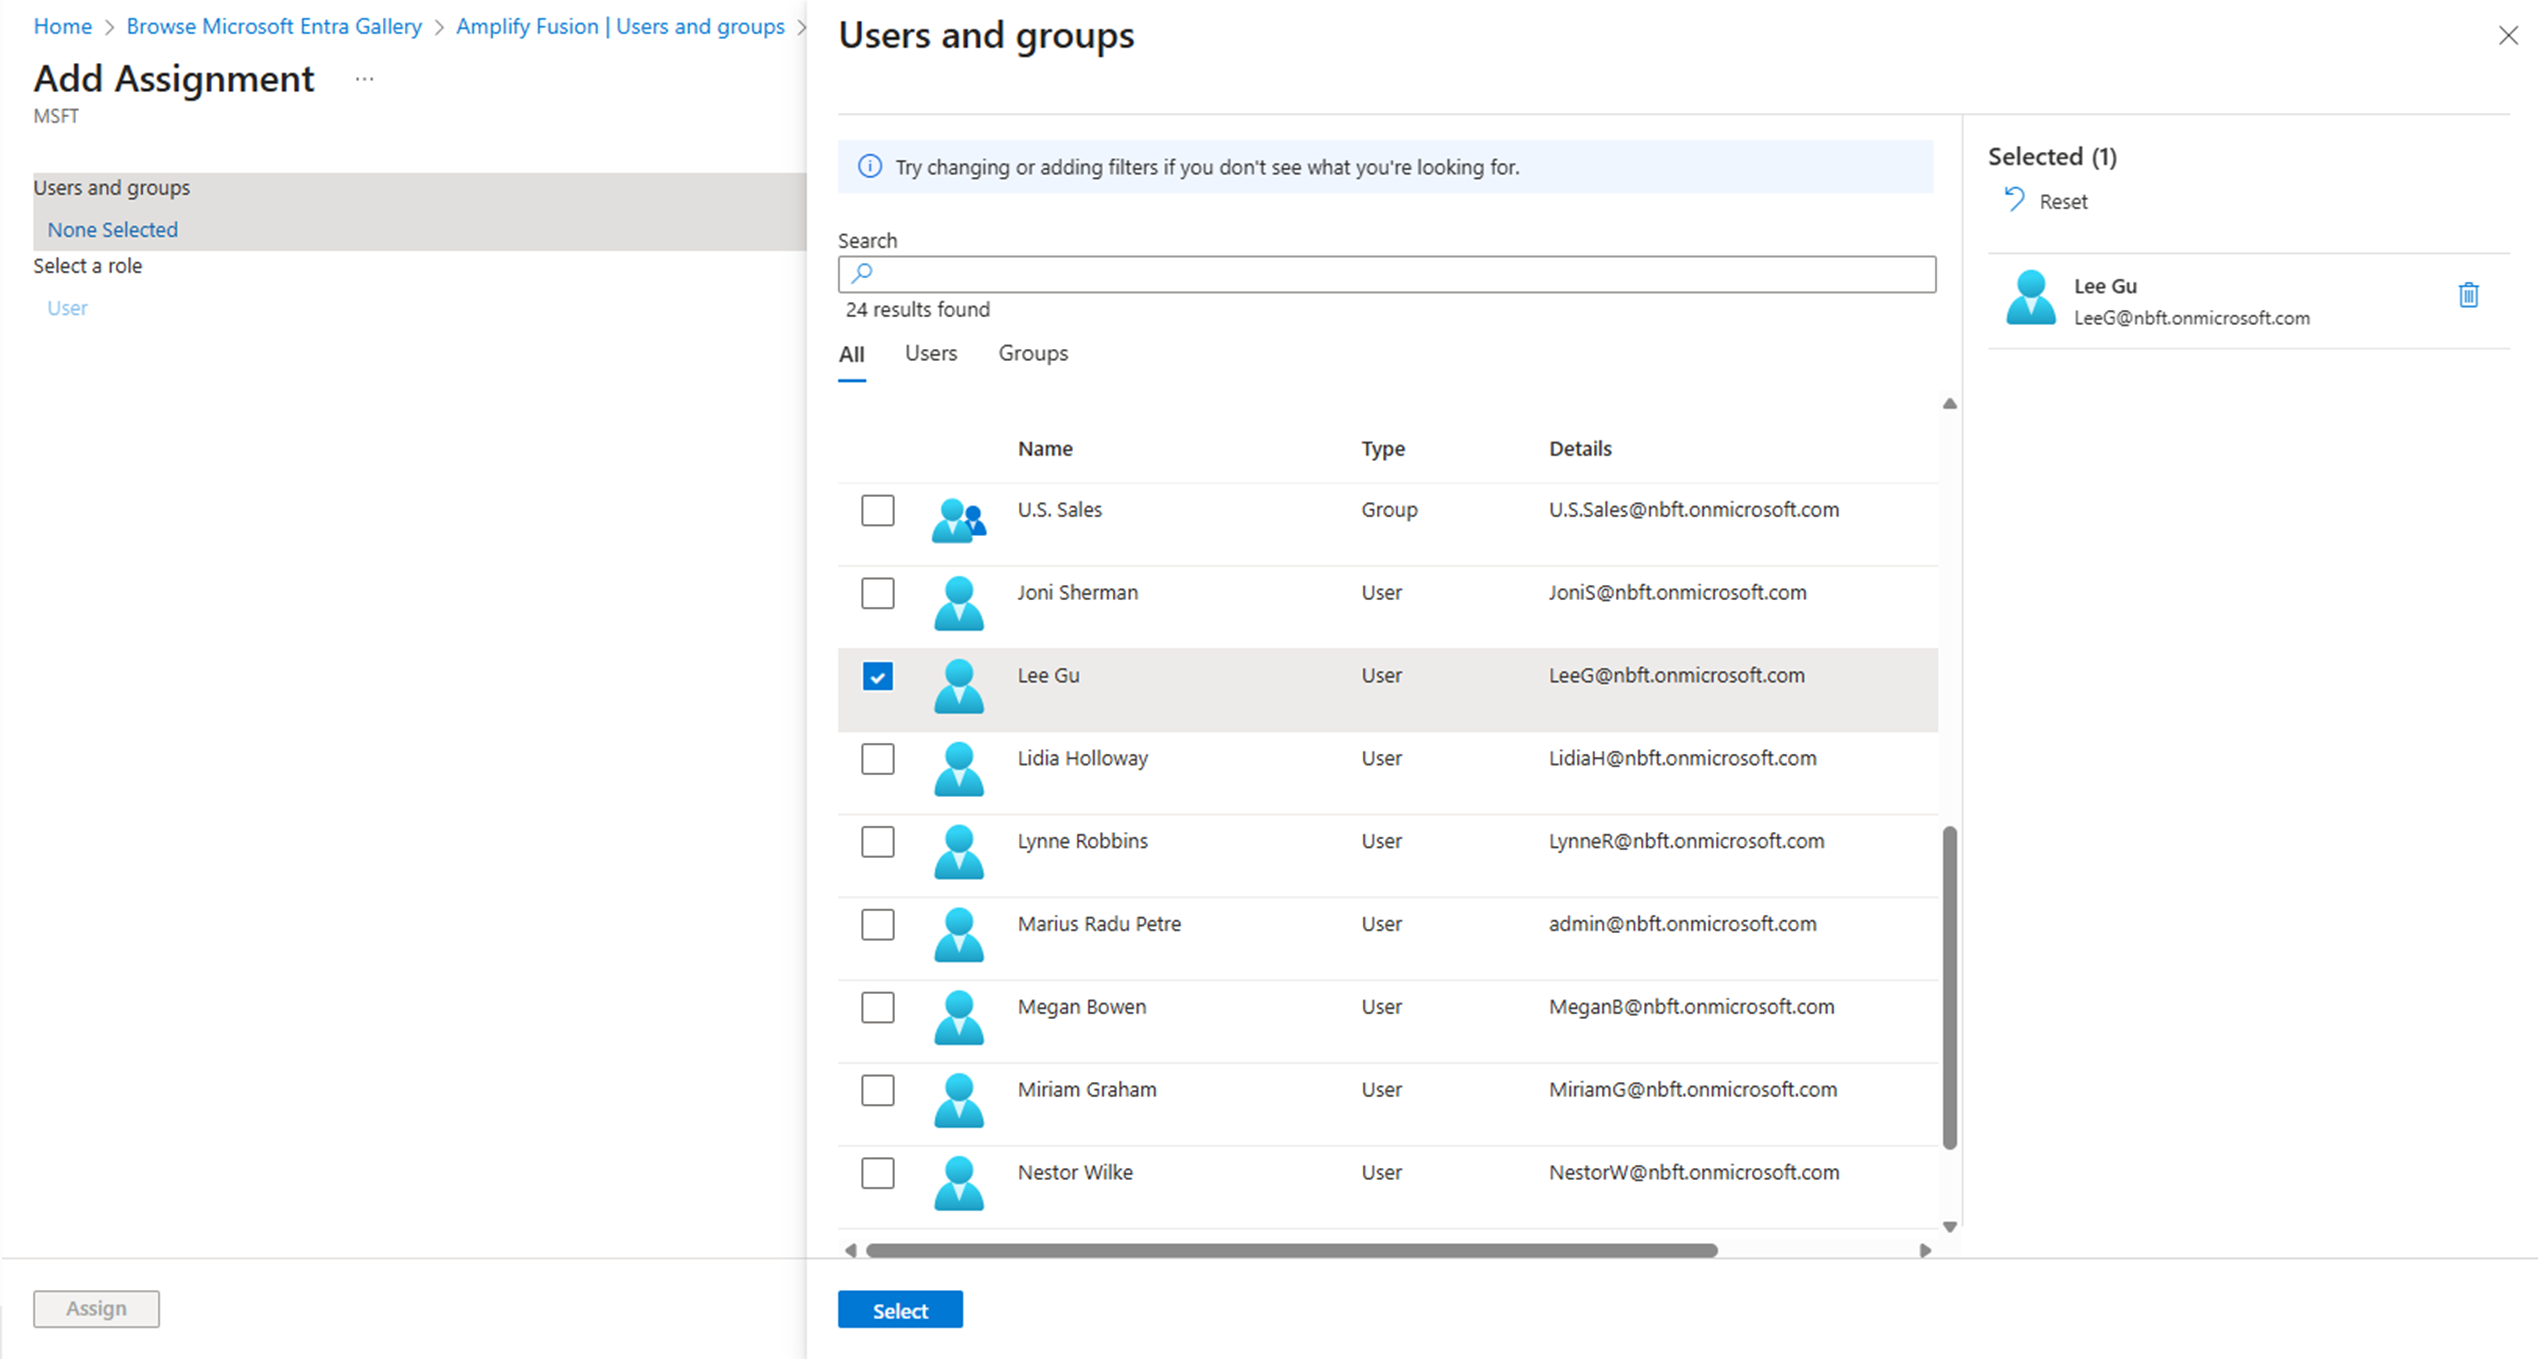
- Go back to the Overview page and click Assign users and groups and select the users or groups you wish to grant access to the application
Configure Amplify Fusion Single Sign On
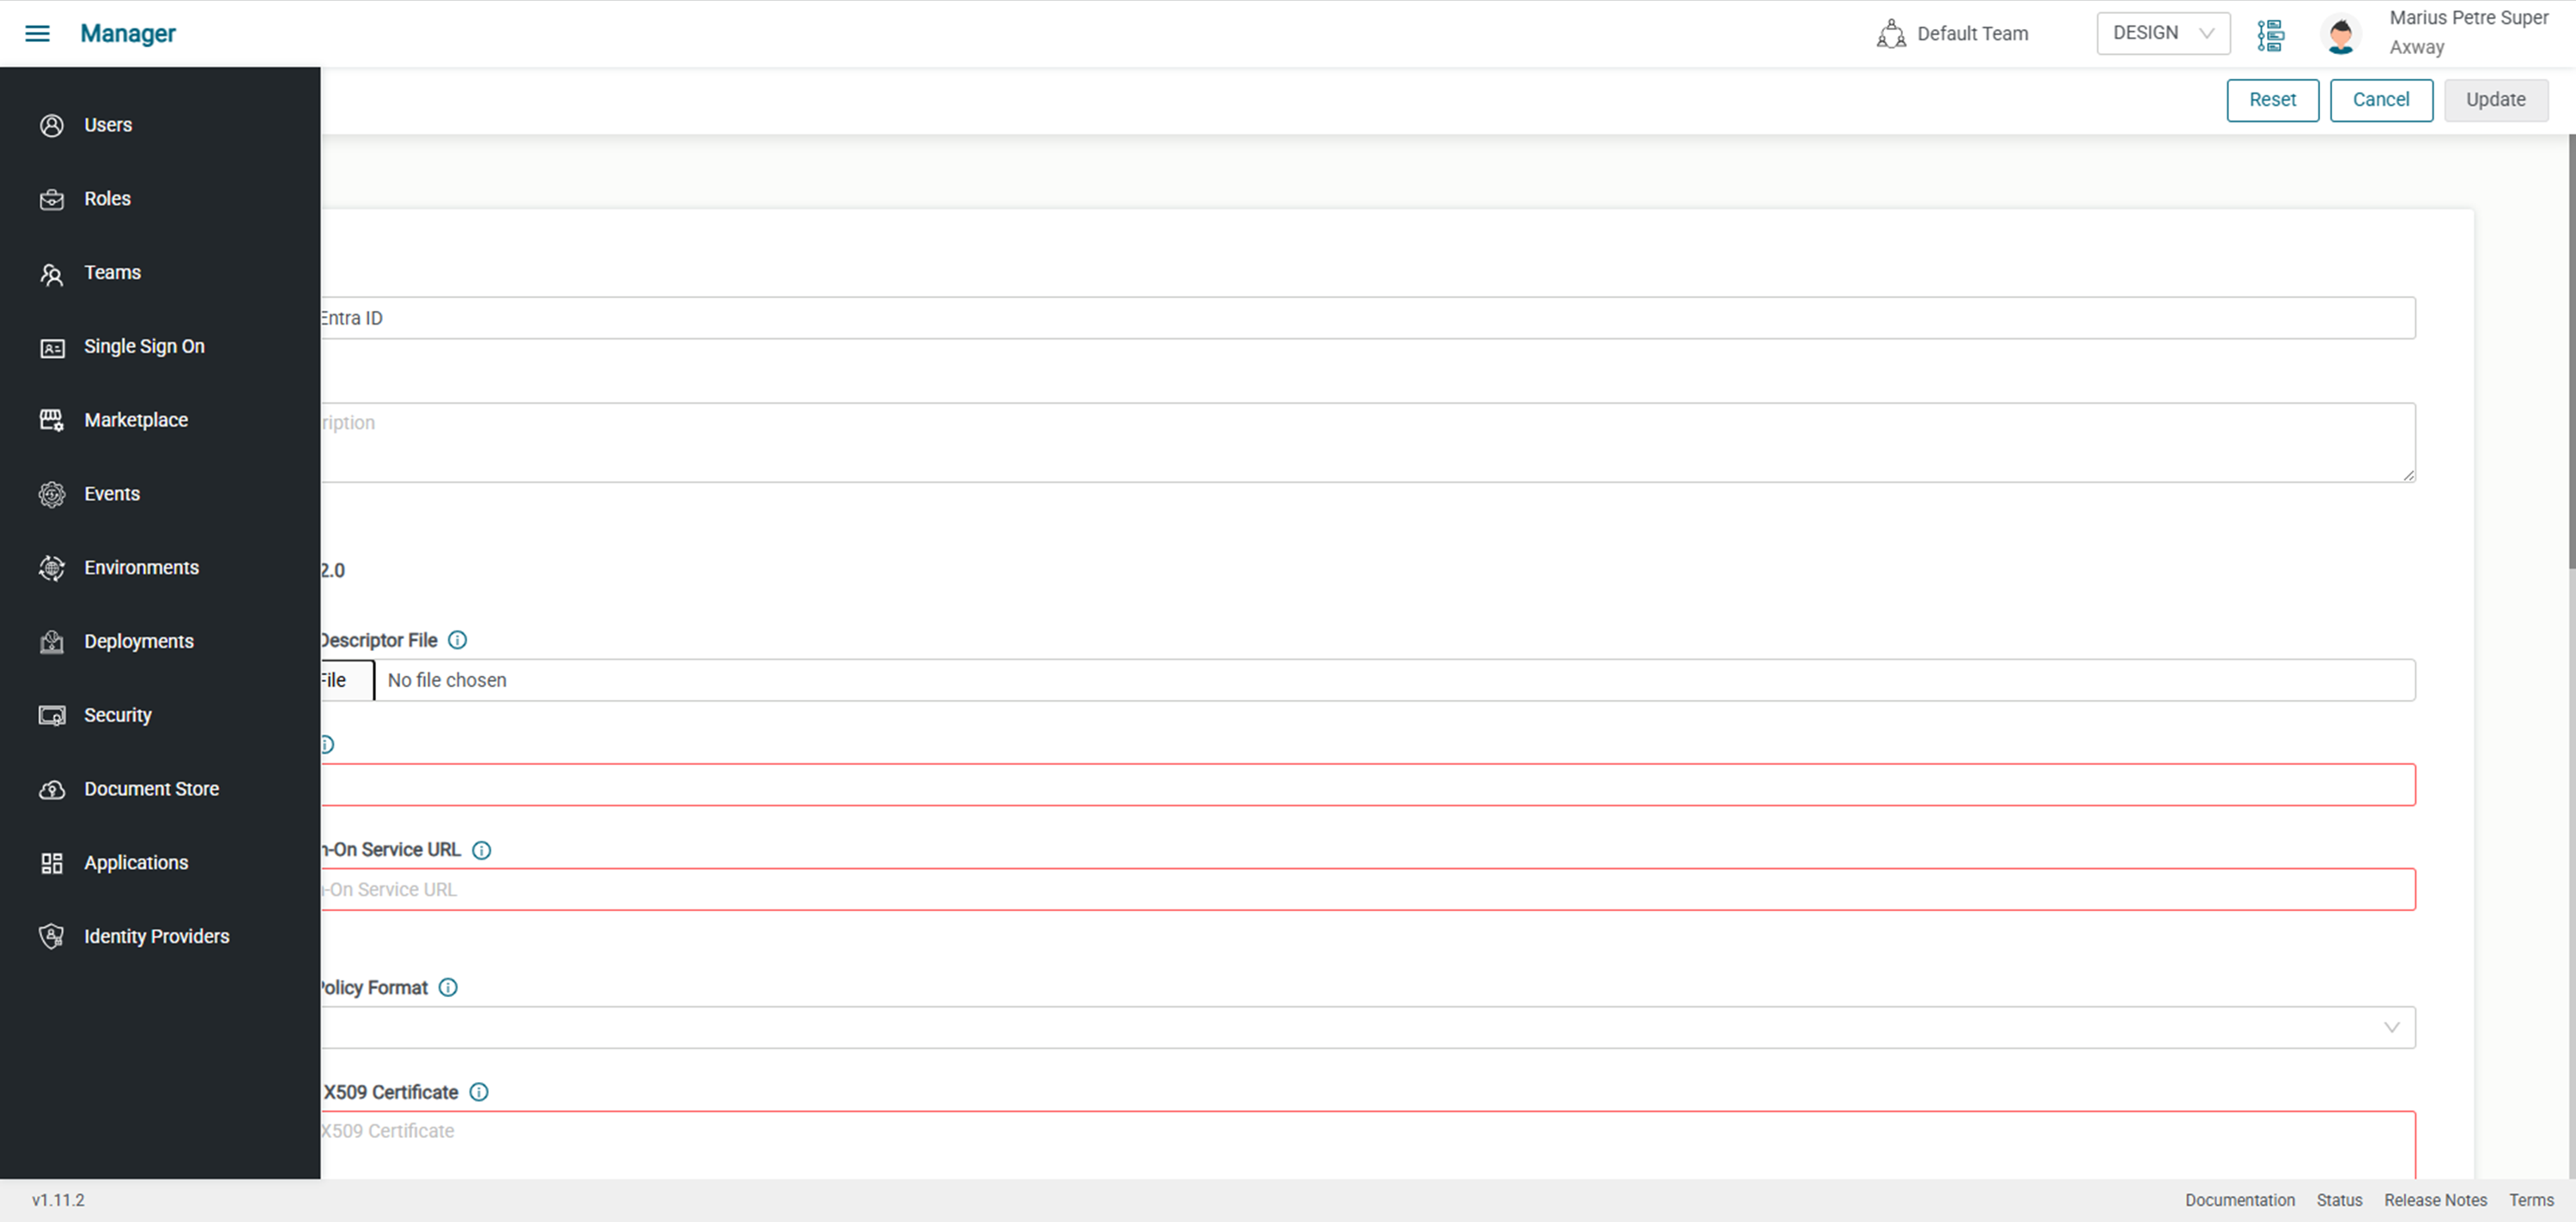
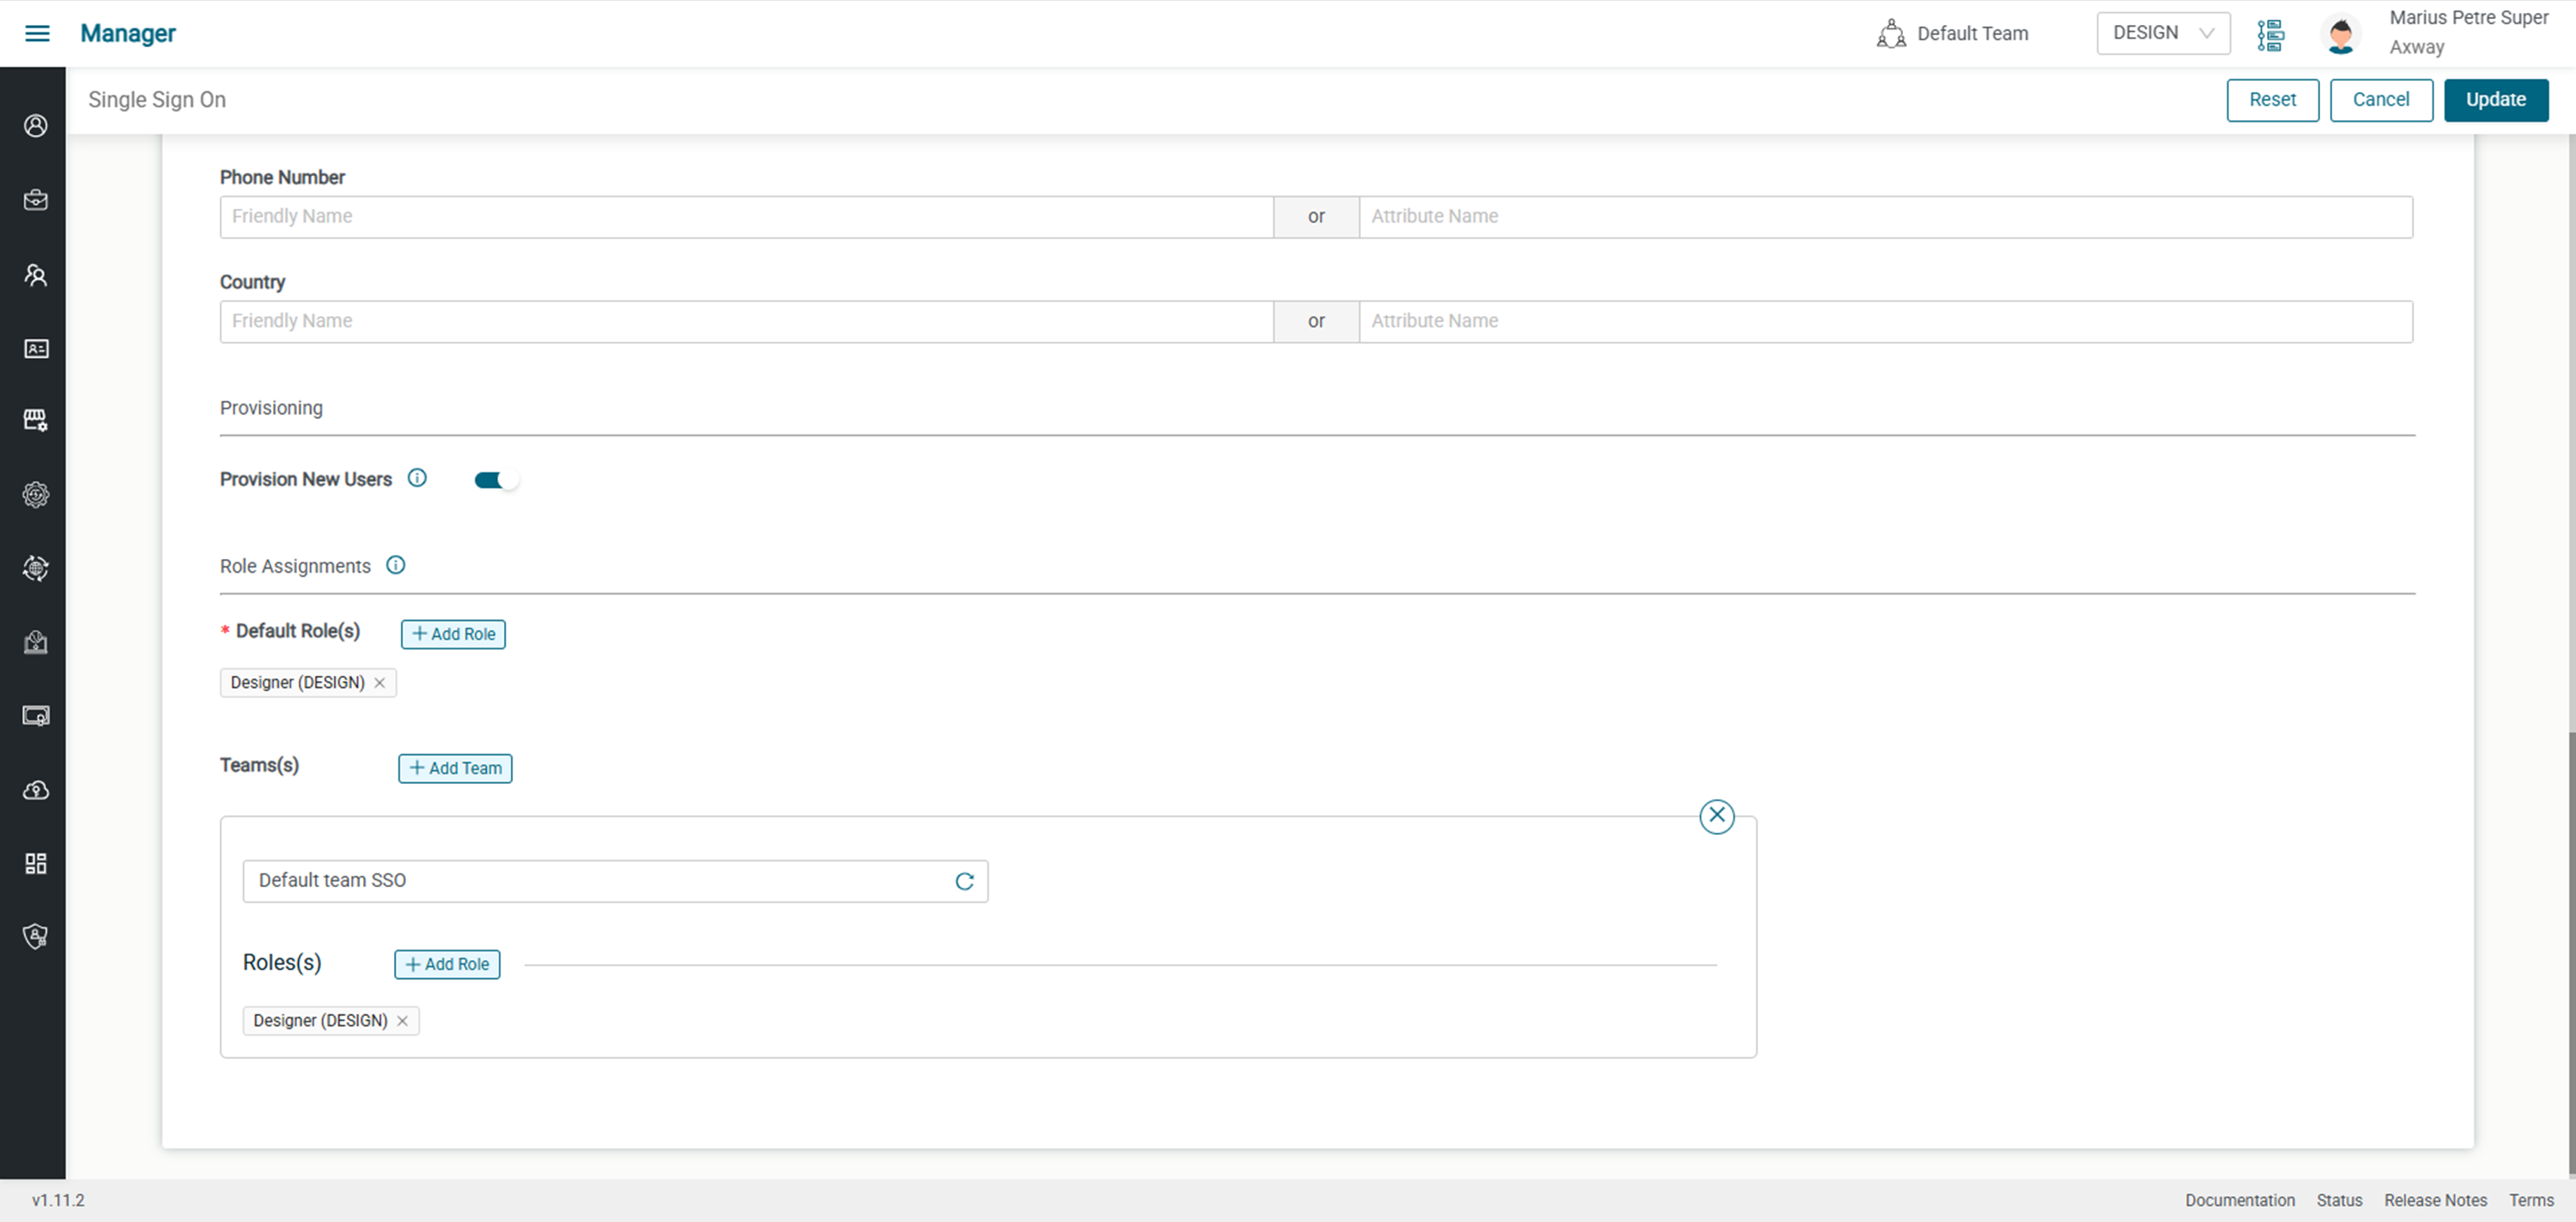
- Click on Manager -> Single Sign On
- Enter a name and optionally a description, then click Choose File and select the federation metadata XML file you downloaded earlier, this will populate several of the form fields
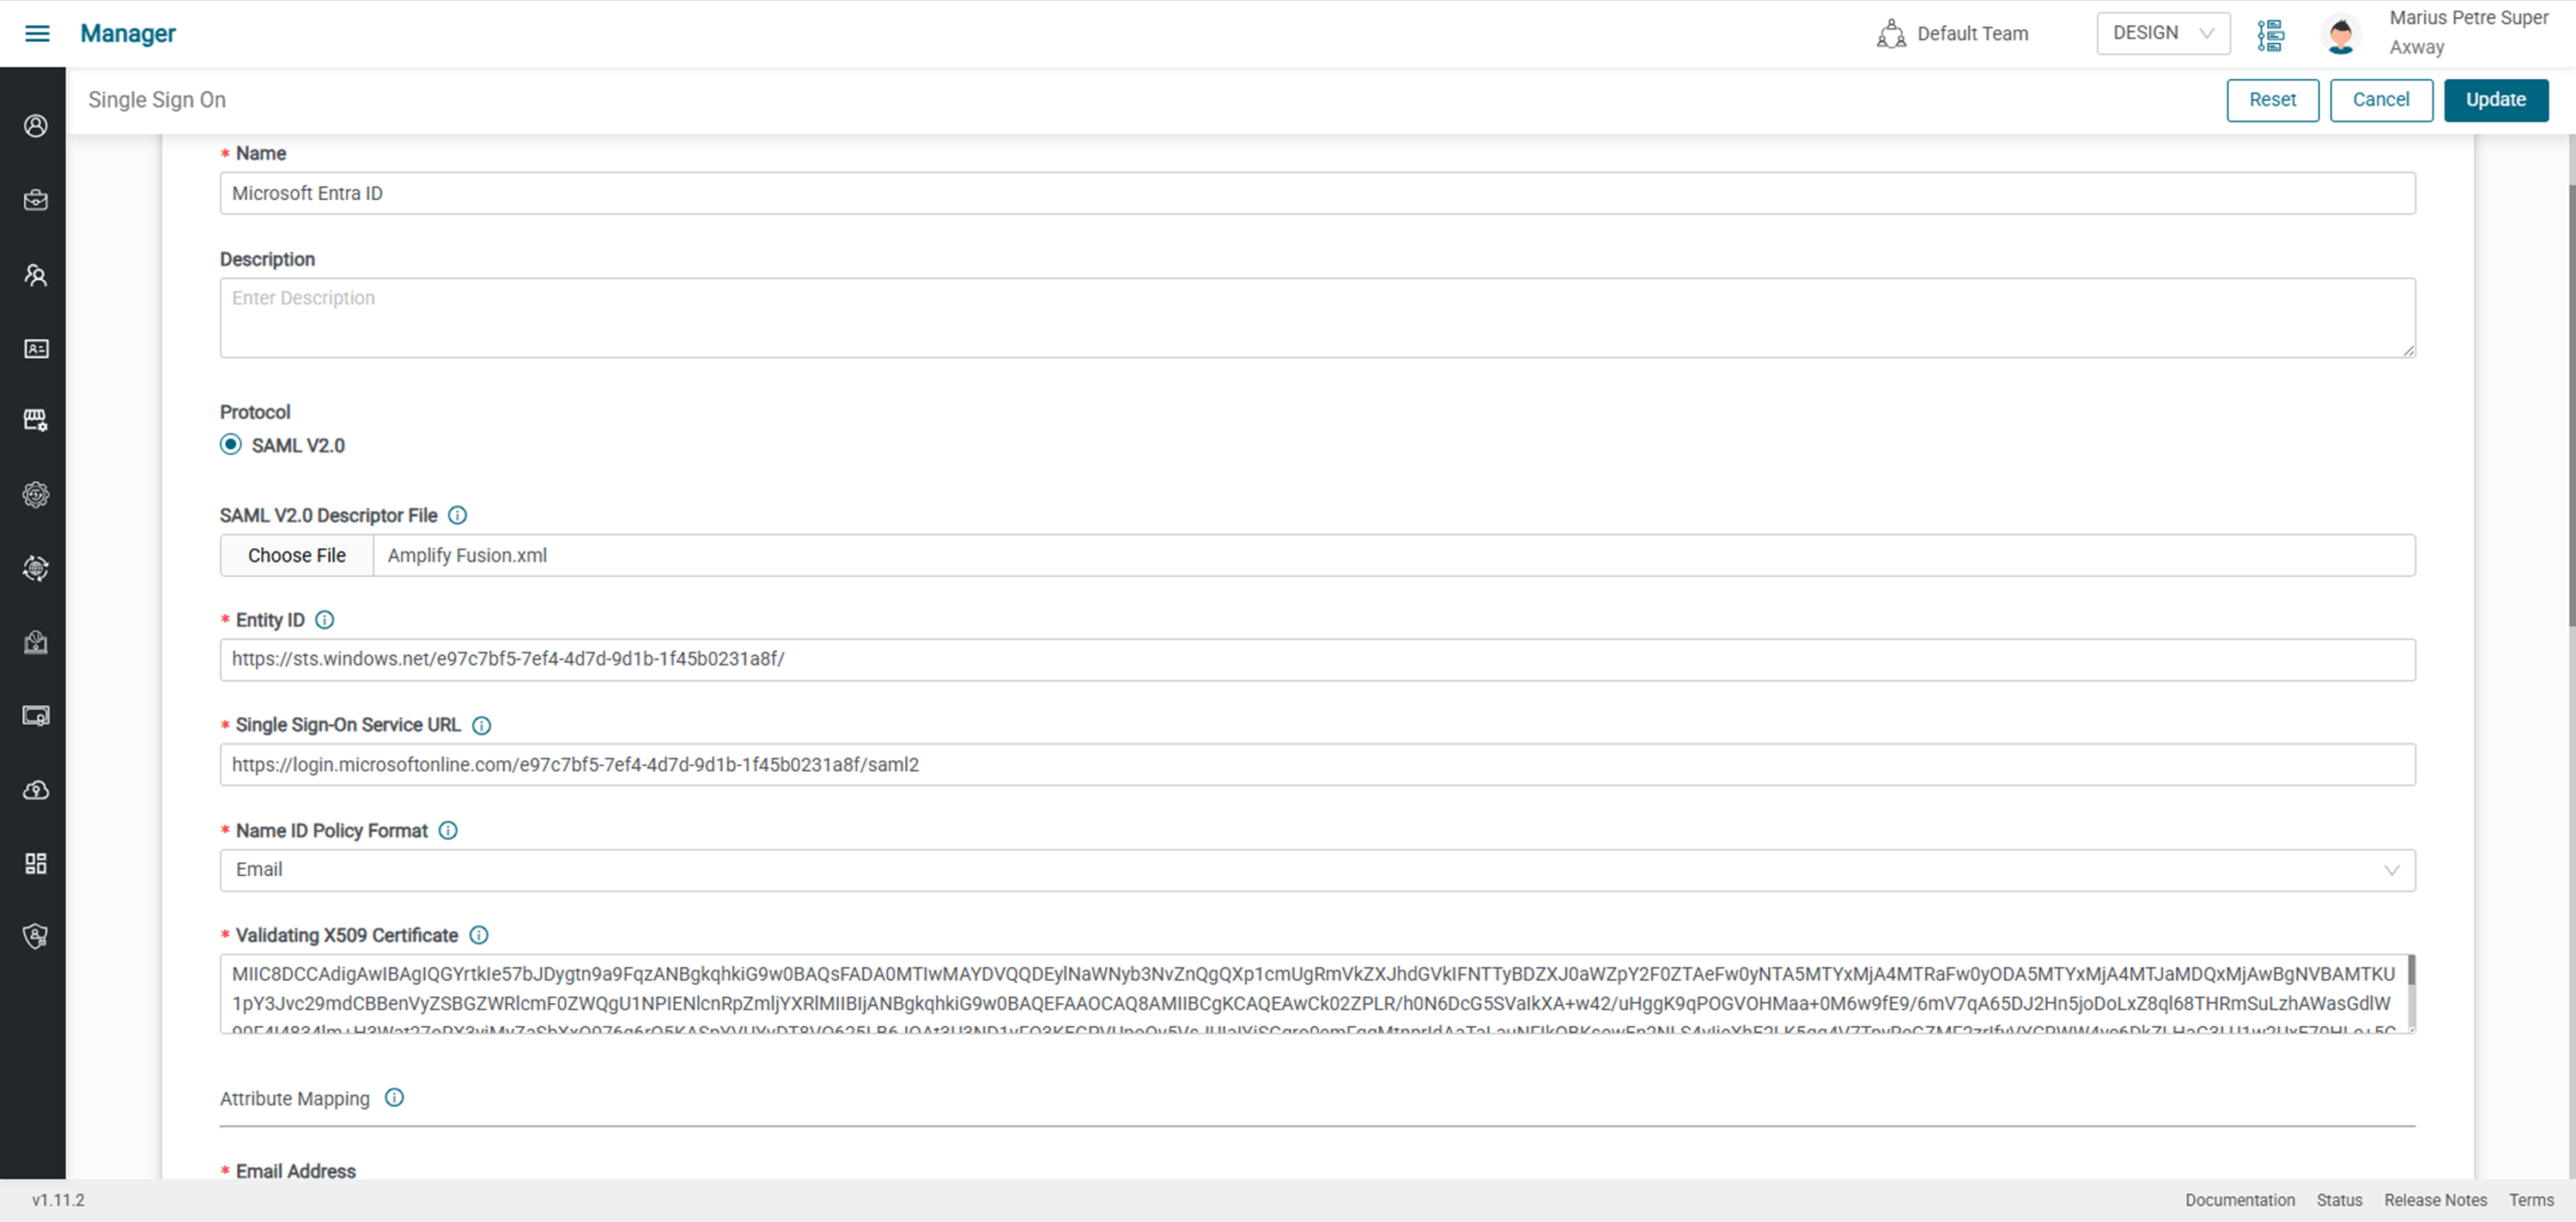
- Scroll down to the Attribute Mapping section and enter the following in the Attribute Name part of the fields
http://schemas.xmlsoap.org/ws/2005/05/identity/claims/emailaddressfor Email Addresshttp://schemas.xmlsoap.org/ws/2005/05/identity/claims/givennamefor First Namehttp://schemas.xmlsoap.org/ws/2005/05/identity/claims/surnamefor Last Name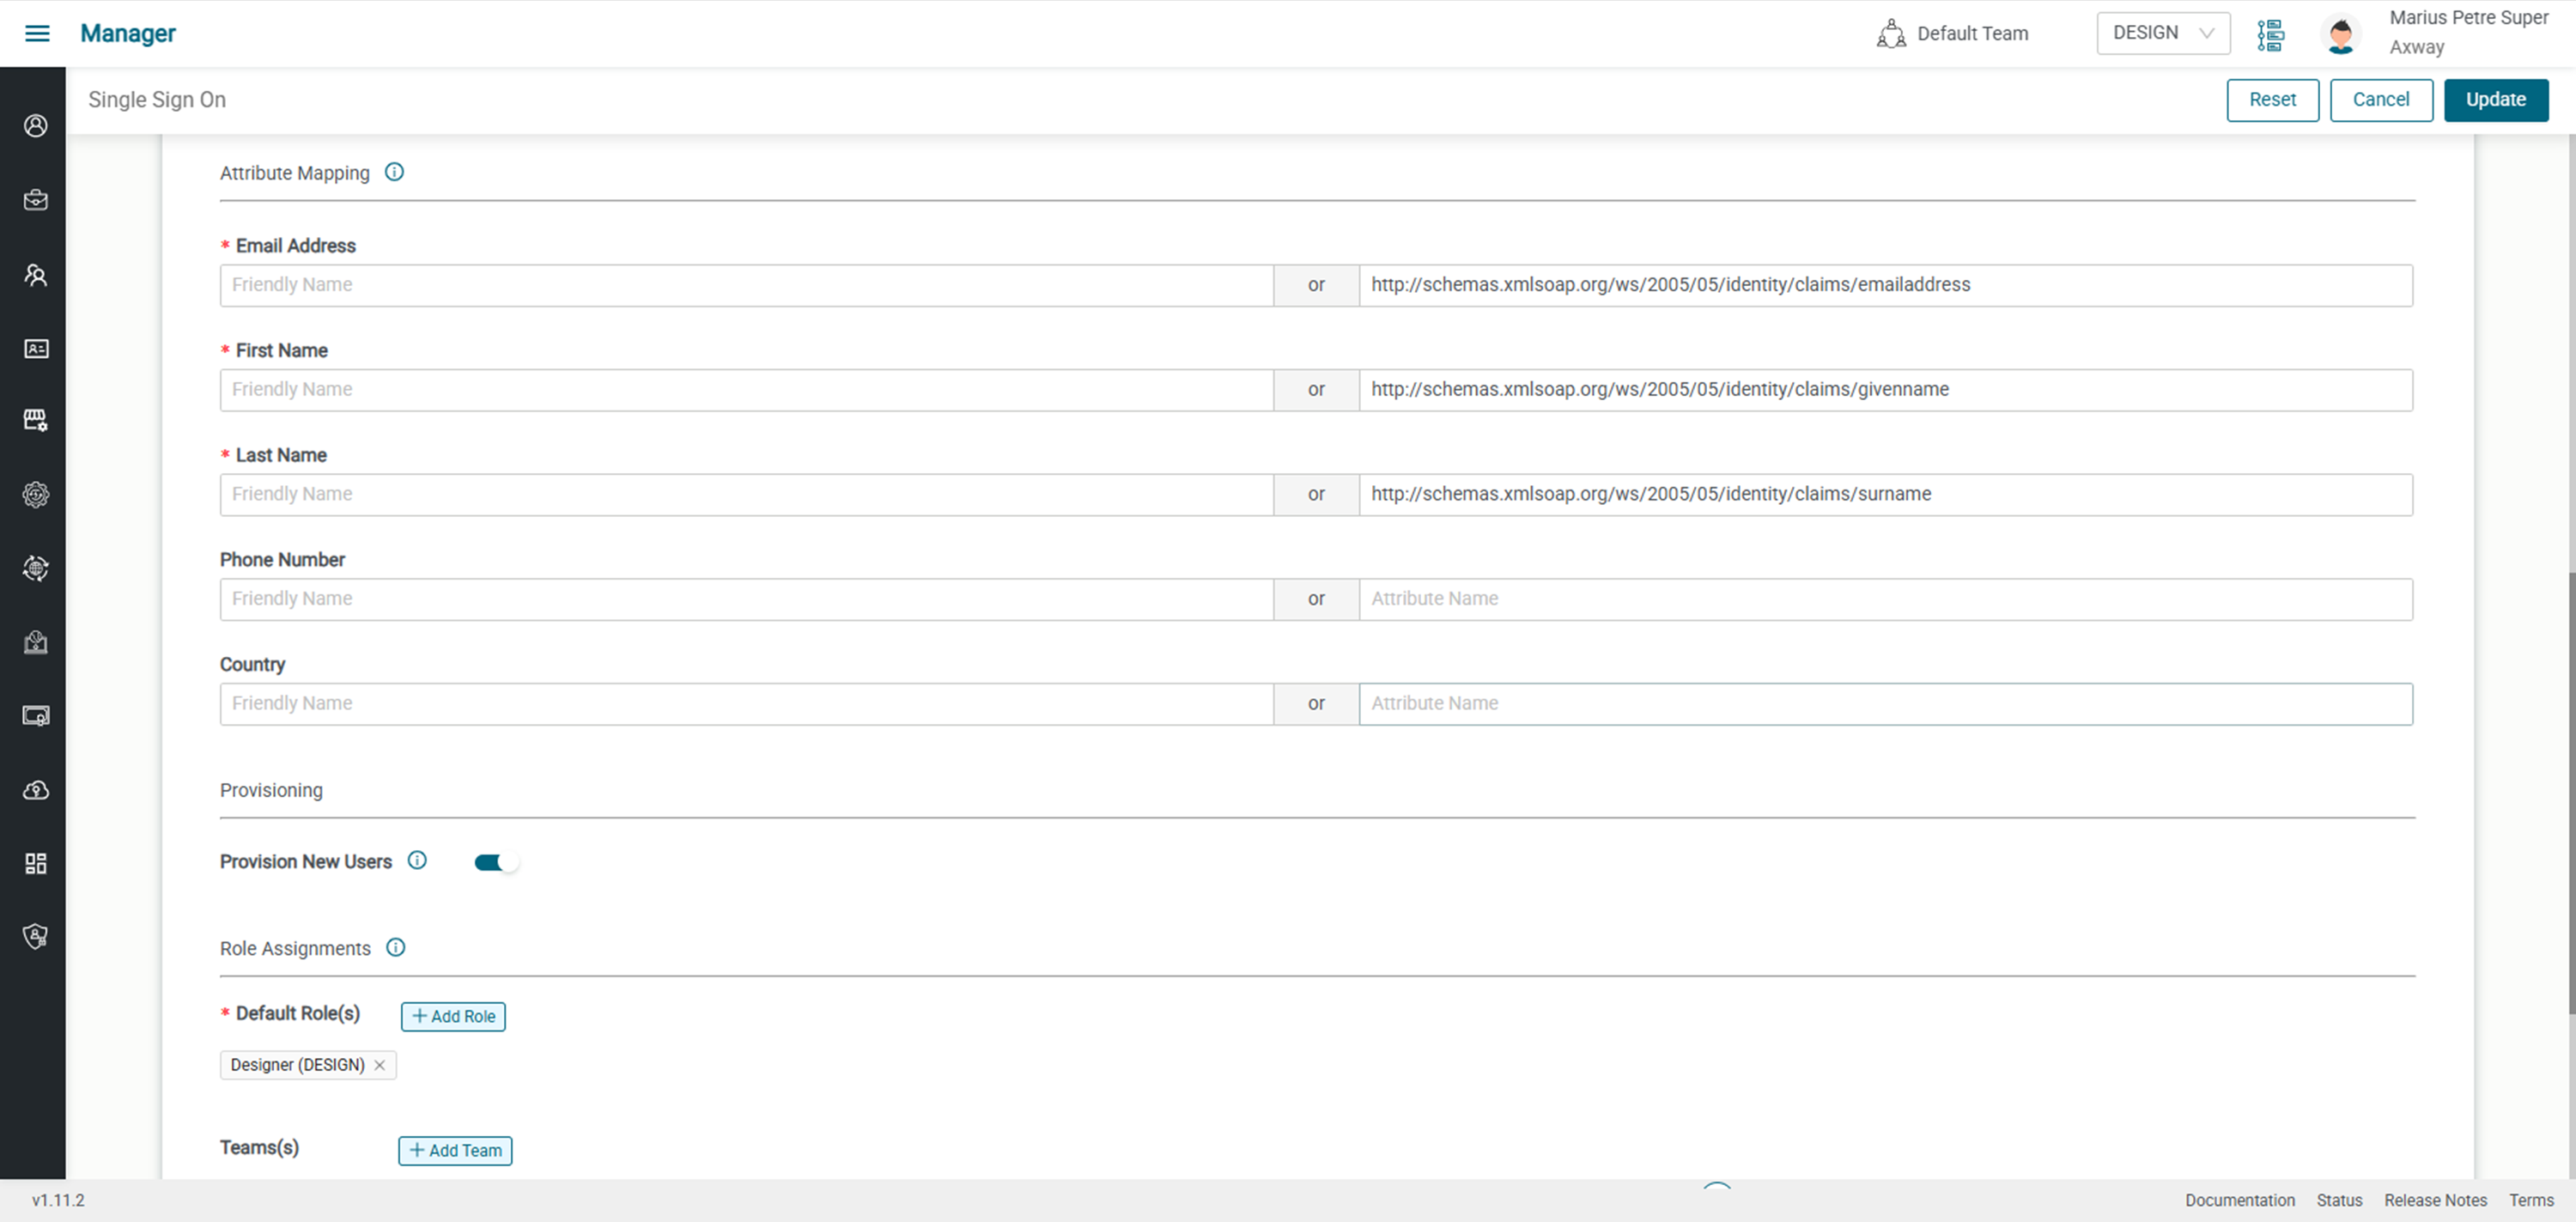
- Enable Provision New Users and set the Default Roles and Teams
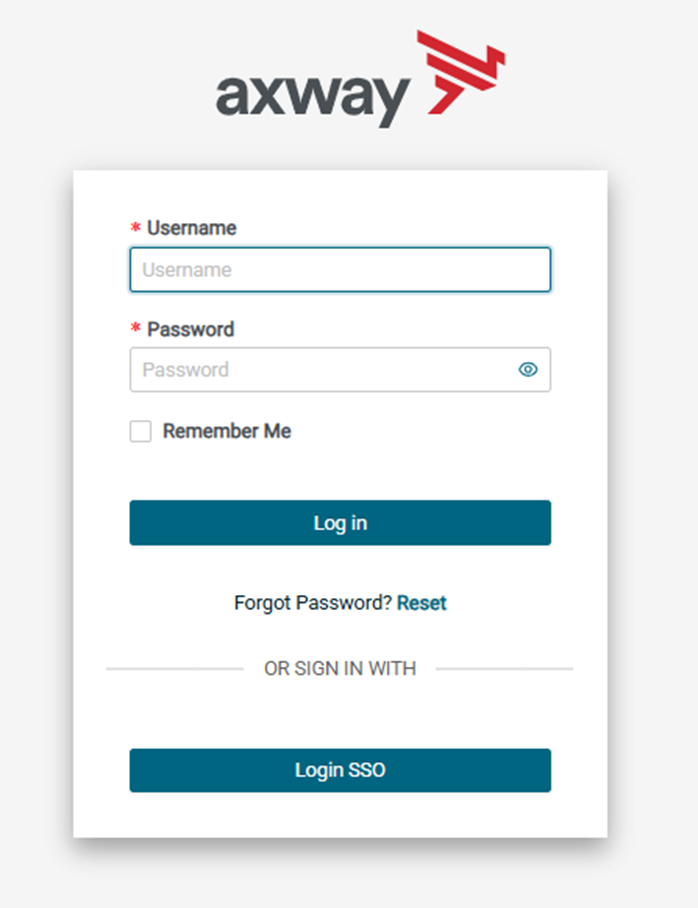
Sign on to Amplify Integration using SSO
- At this point single sign on may be tested. Sign out of Amplify Fusion and click on the Login SSO button
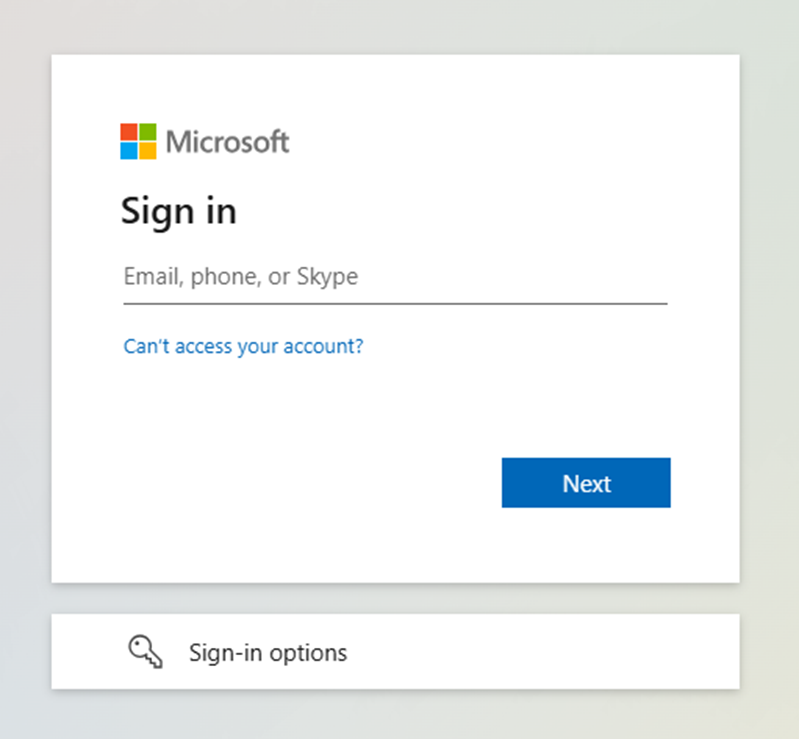
- You will be redirected to the Microsoft Sign in page to enter your credentials
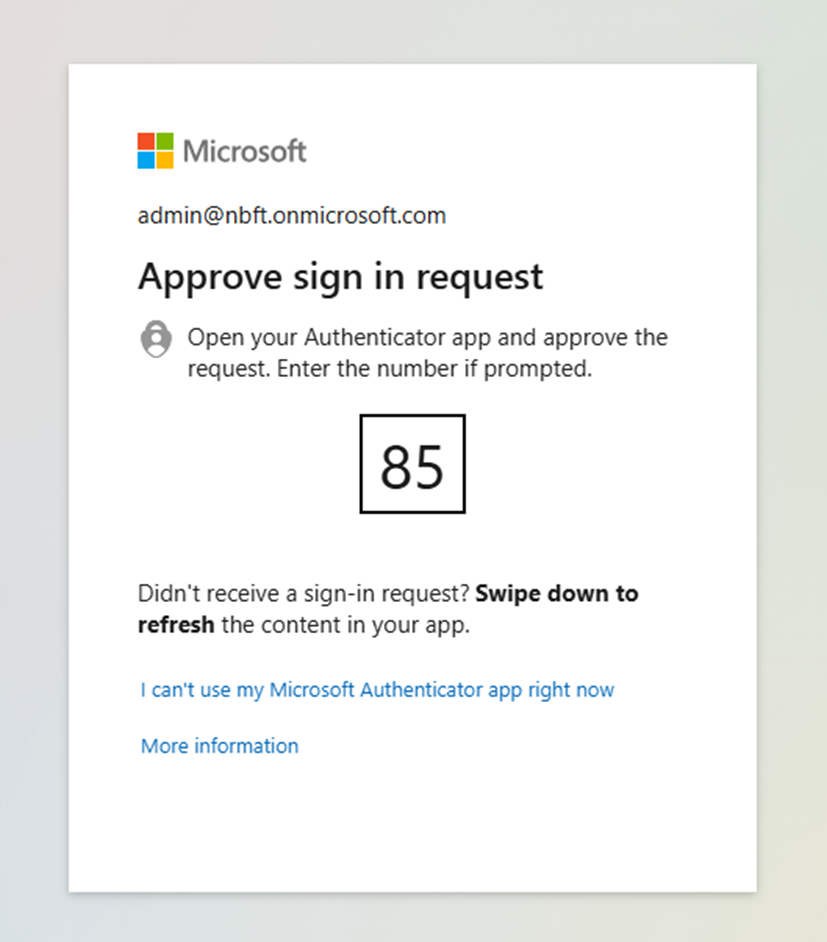
- Complete the authentication by fulfilling the MFA criteria, in the example below you must enter the number in Microsoft Authenticator
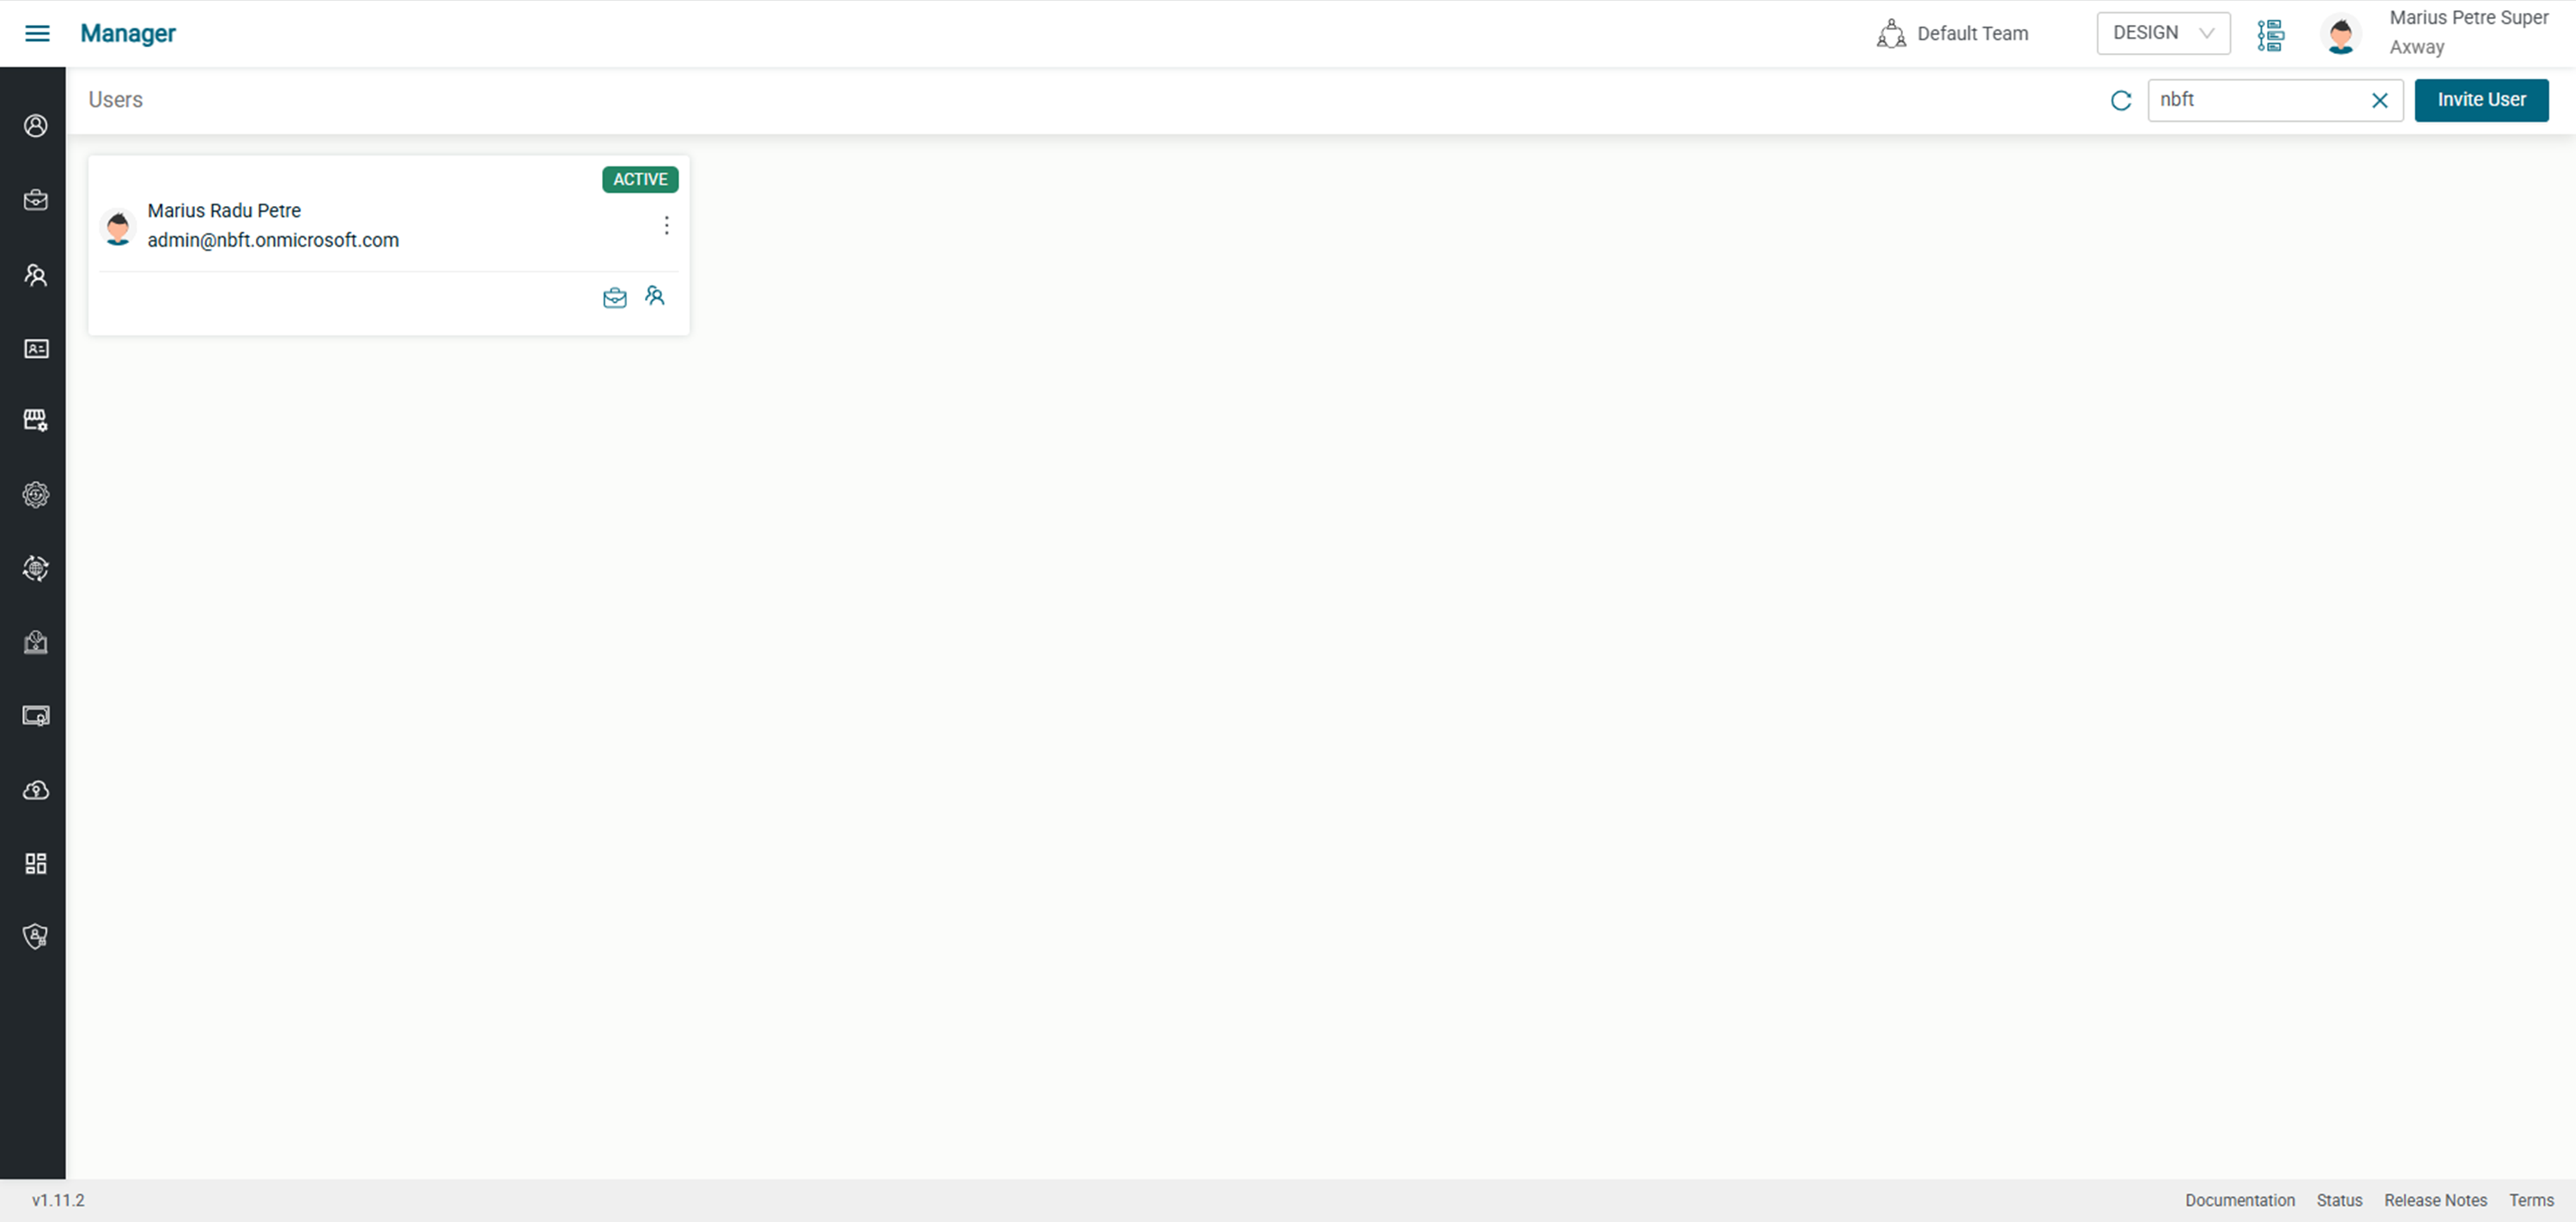
- You will now be logged in Amplify Fusion. If the user does not already exist, it will be created with the default roles and teams from single sign page as previously configured
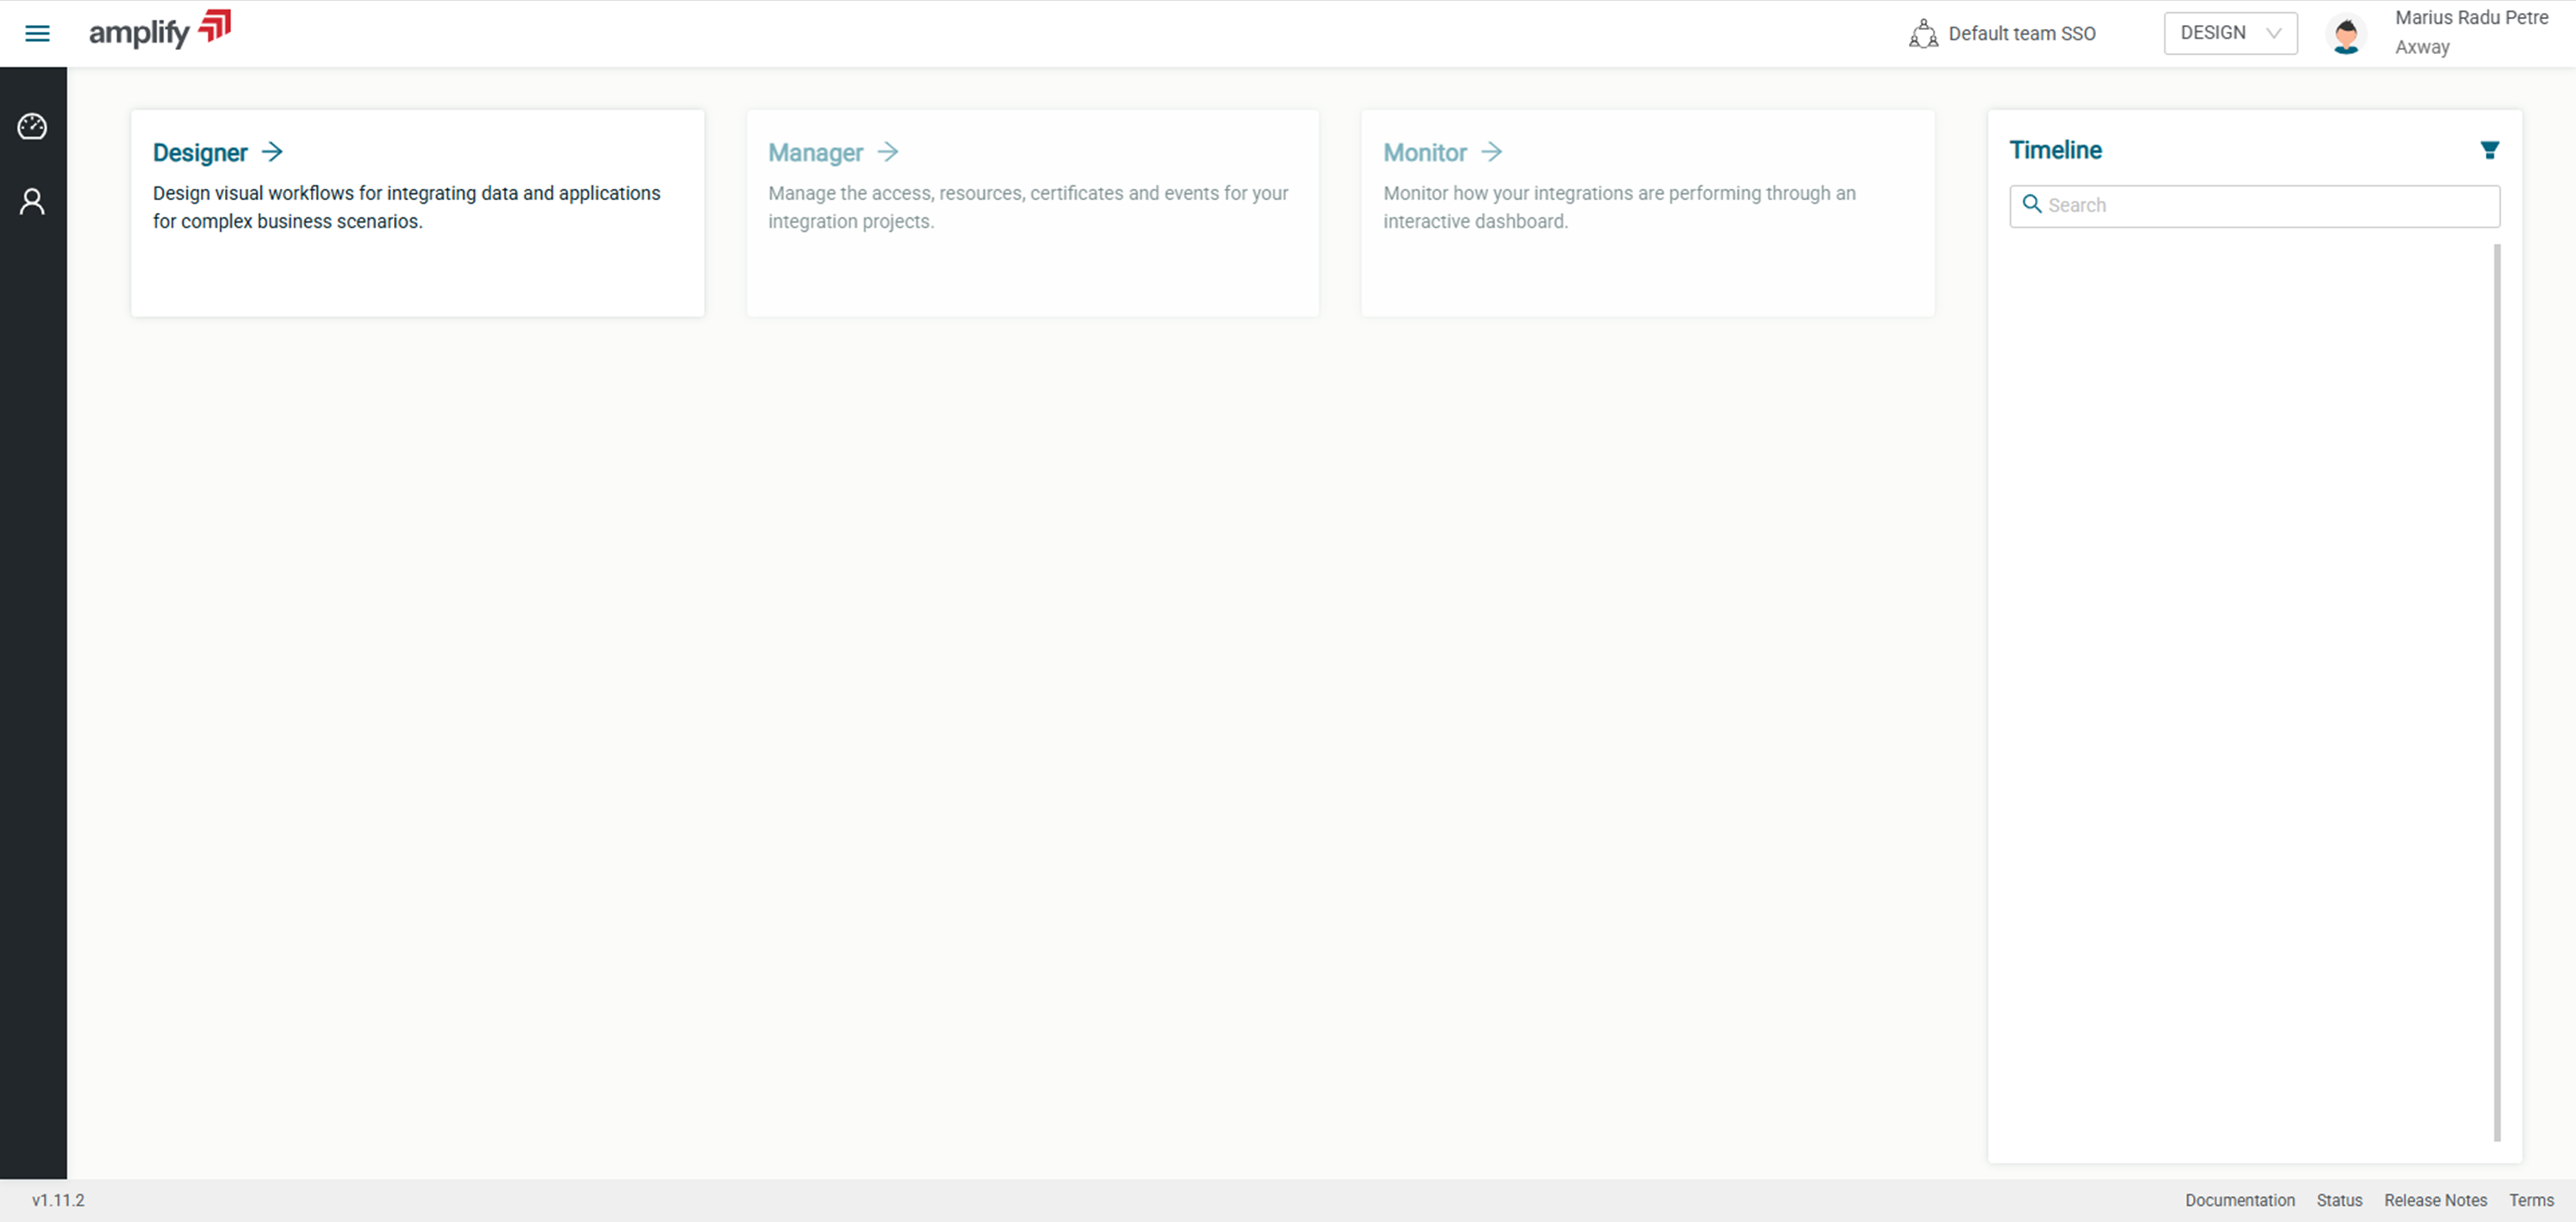
- You can check the roles and teams by clicking the account name in the top right corner and clicking settings
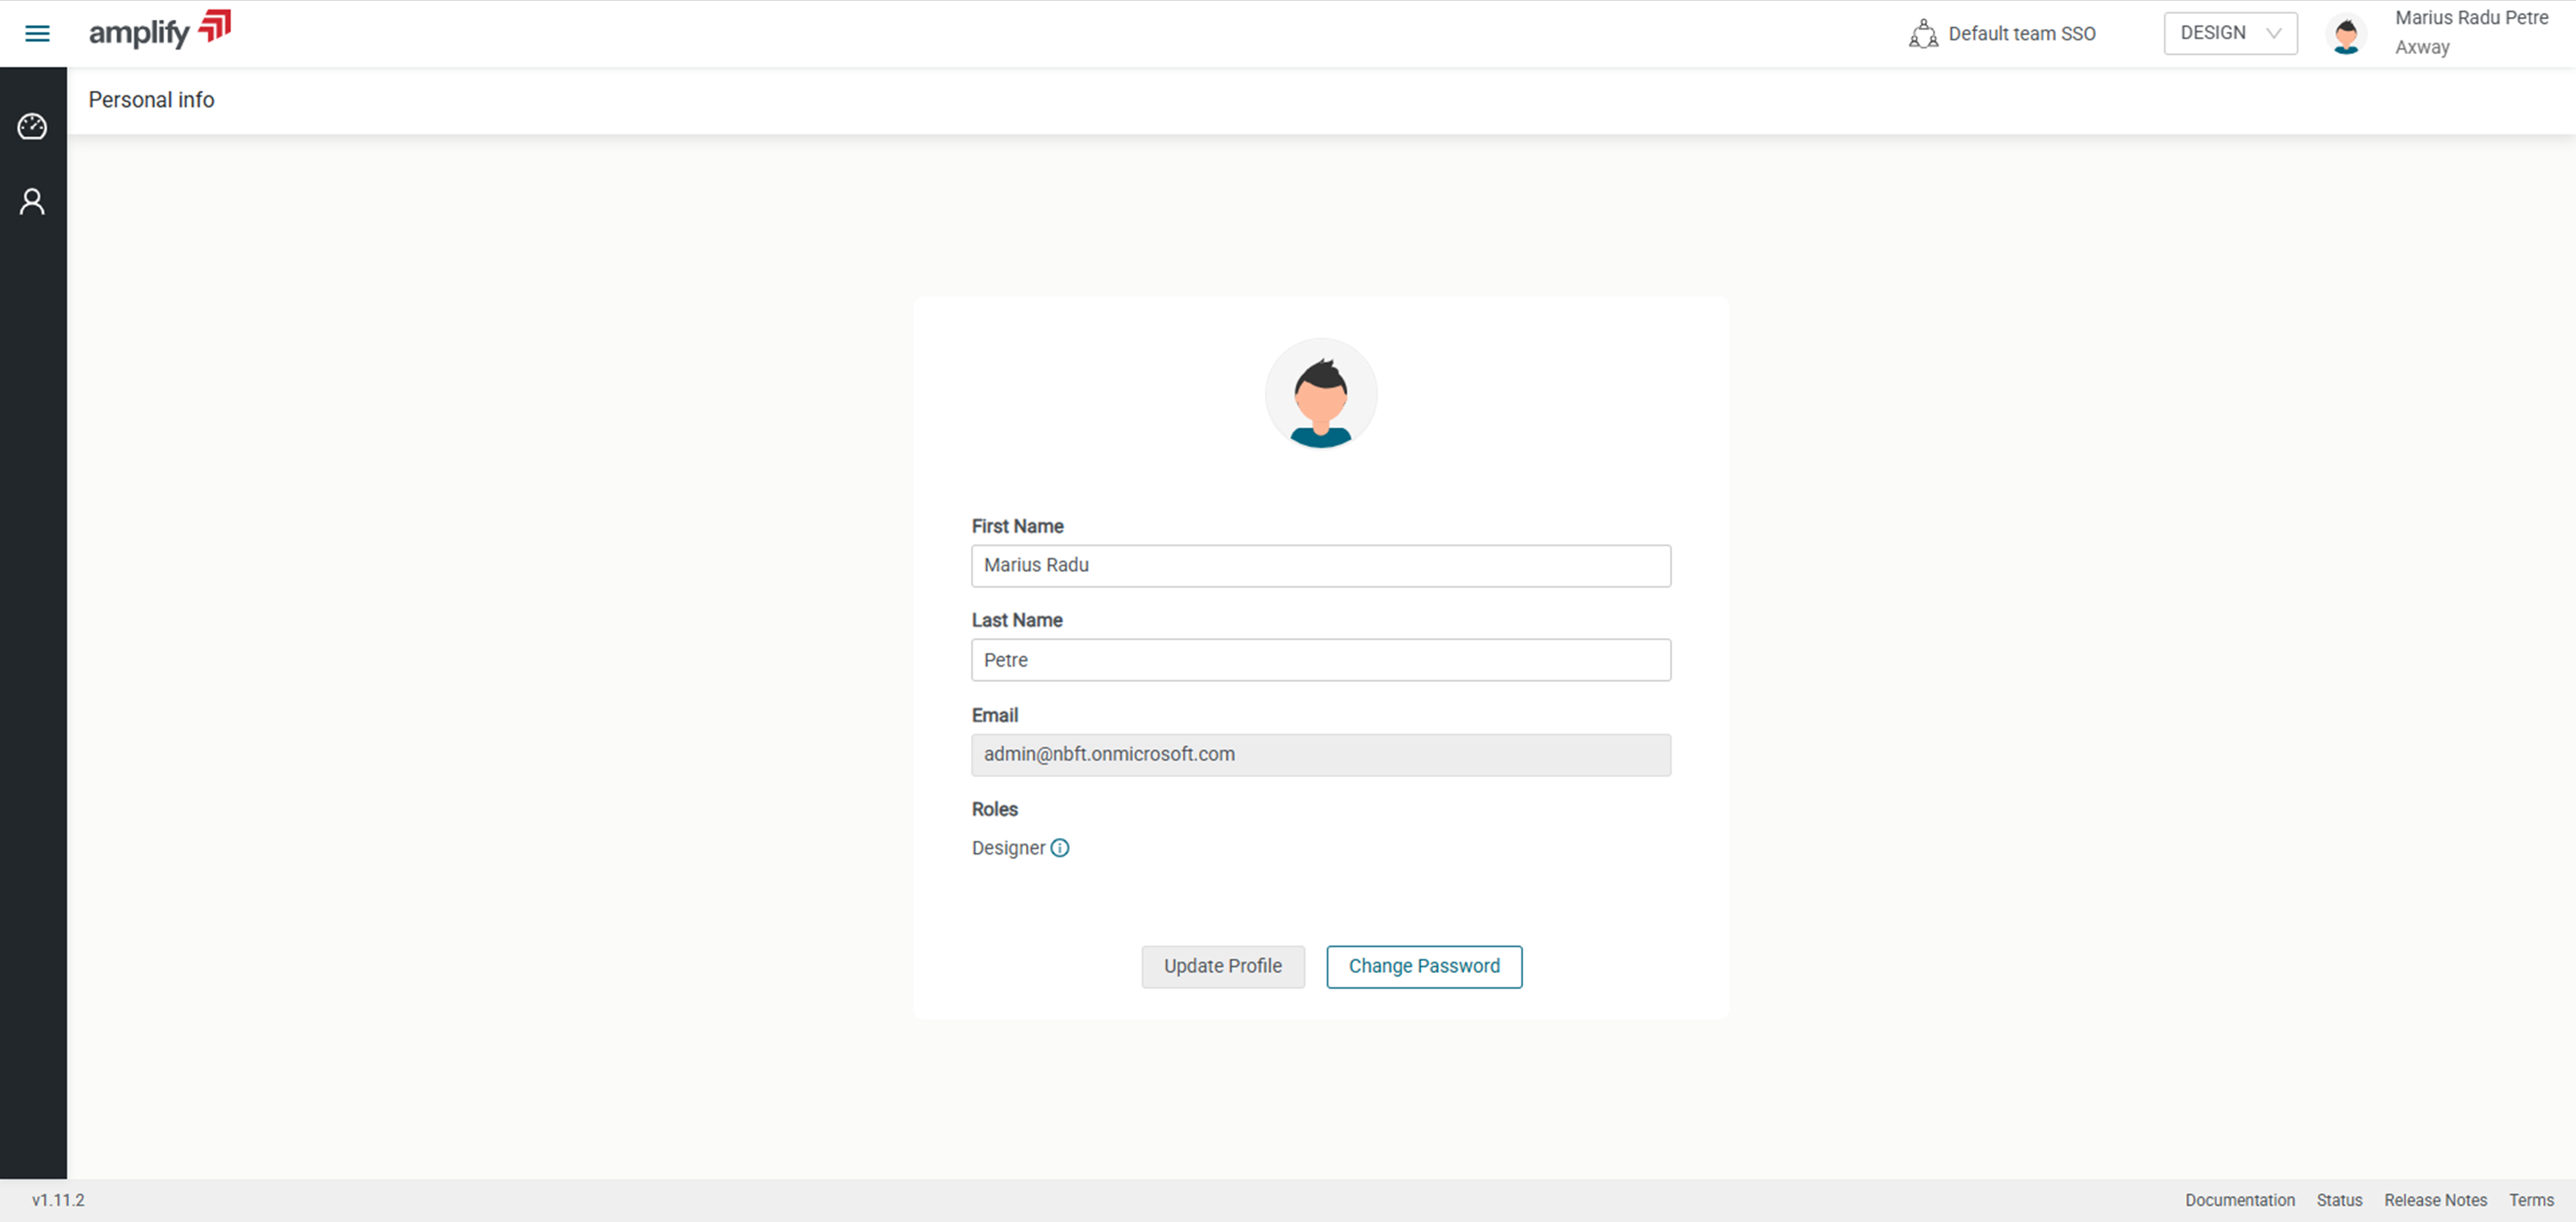
- User account should also be visible to super administrators